Author Archives: Carrie

About Carrie

I have loved food and cooking all my life, and only wish it was my full time profession! Instead I had a career in marketing and advertising prior to having my family; my kids Sam and Lily are now 13 & 11. We live with my husband Chris just north west of London. I am incredibly lucky to have the time to explore my love of food and because I love the book, my blog unashamedly robs the Taste Thesaurus' concept by testing and reinventing new flavour combinations. The idea is that each post introduces a flavour pairing, which then hopefully invites other ideas and recipes along the same lines. It won't work without you so please do comment and share! Carrie x

Lime & Pineapple

Last November my husband and I celebrated our 15th wedding anniversary with a very decadent trip to the Maldives, staying at the incredible Six Senses Laamu. During the week we met and made friends with Phil and Jenny Howard. Phil is head chef at the 2 Michelin starred restaurant, The Square in Mayfair, and was out in The Maldives as a guest chef. I attended his master class (amazing squid linguine) but Chris got a touch of heat stroke (over enthusiastic turtle-chasing) which prevented us from enjoying what was no doubt a sublime meal at the Leaf restaurant that night.

As compensation he bought me Phil’s two cookbooks for Christmas, and I have been dipping my toe slowly in. Under the banner of The Square, they are, as you would expect, very ‘fine dining’, with gorgeous, if intimidating photos, and I fear that many of these beautiful books will resentfully reside on London’s glass coffee tables without ever seeing a kitchen. This is a real shame, as Phil has painstakingly and intelligently written his recipes to be cooked by everyday cooks, giving explicit directions, with ‘make or break’ tips at the beginning of each. I really welcomed this, as I have often found that it is the tiniest of things which make a difference, and recipes rarely point them out, (which makes me wonder how often they really have been tried and tested).

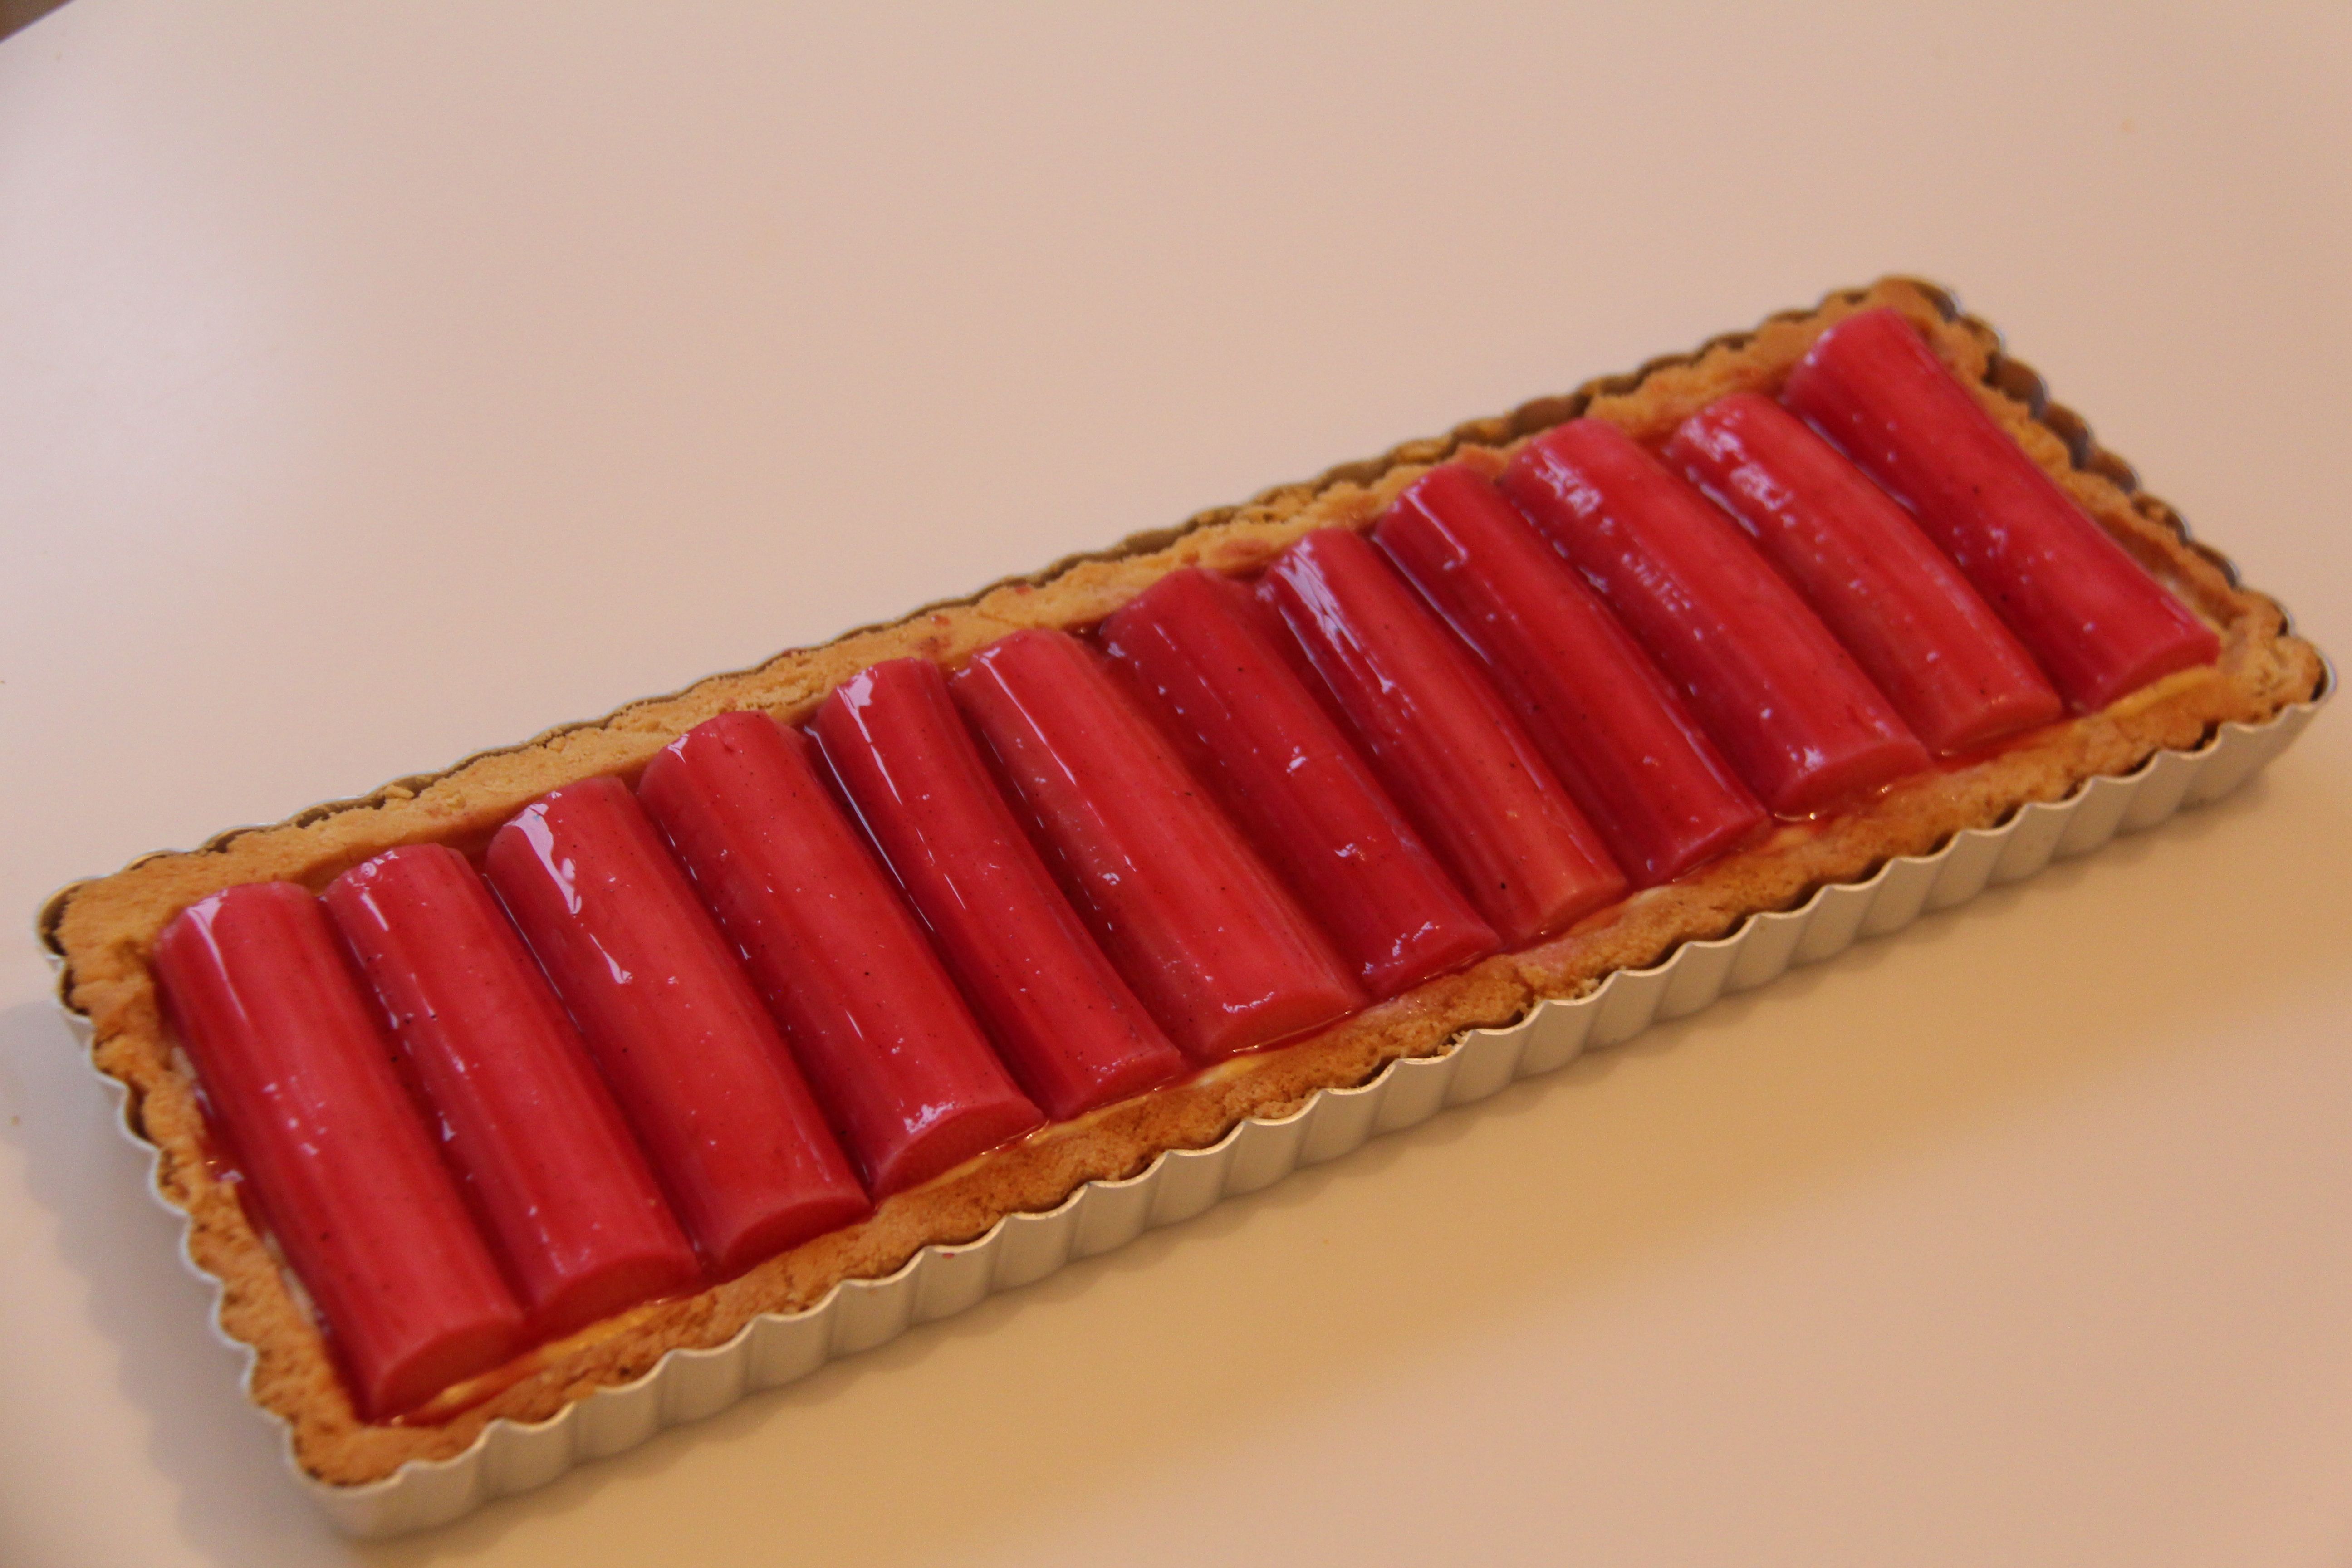
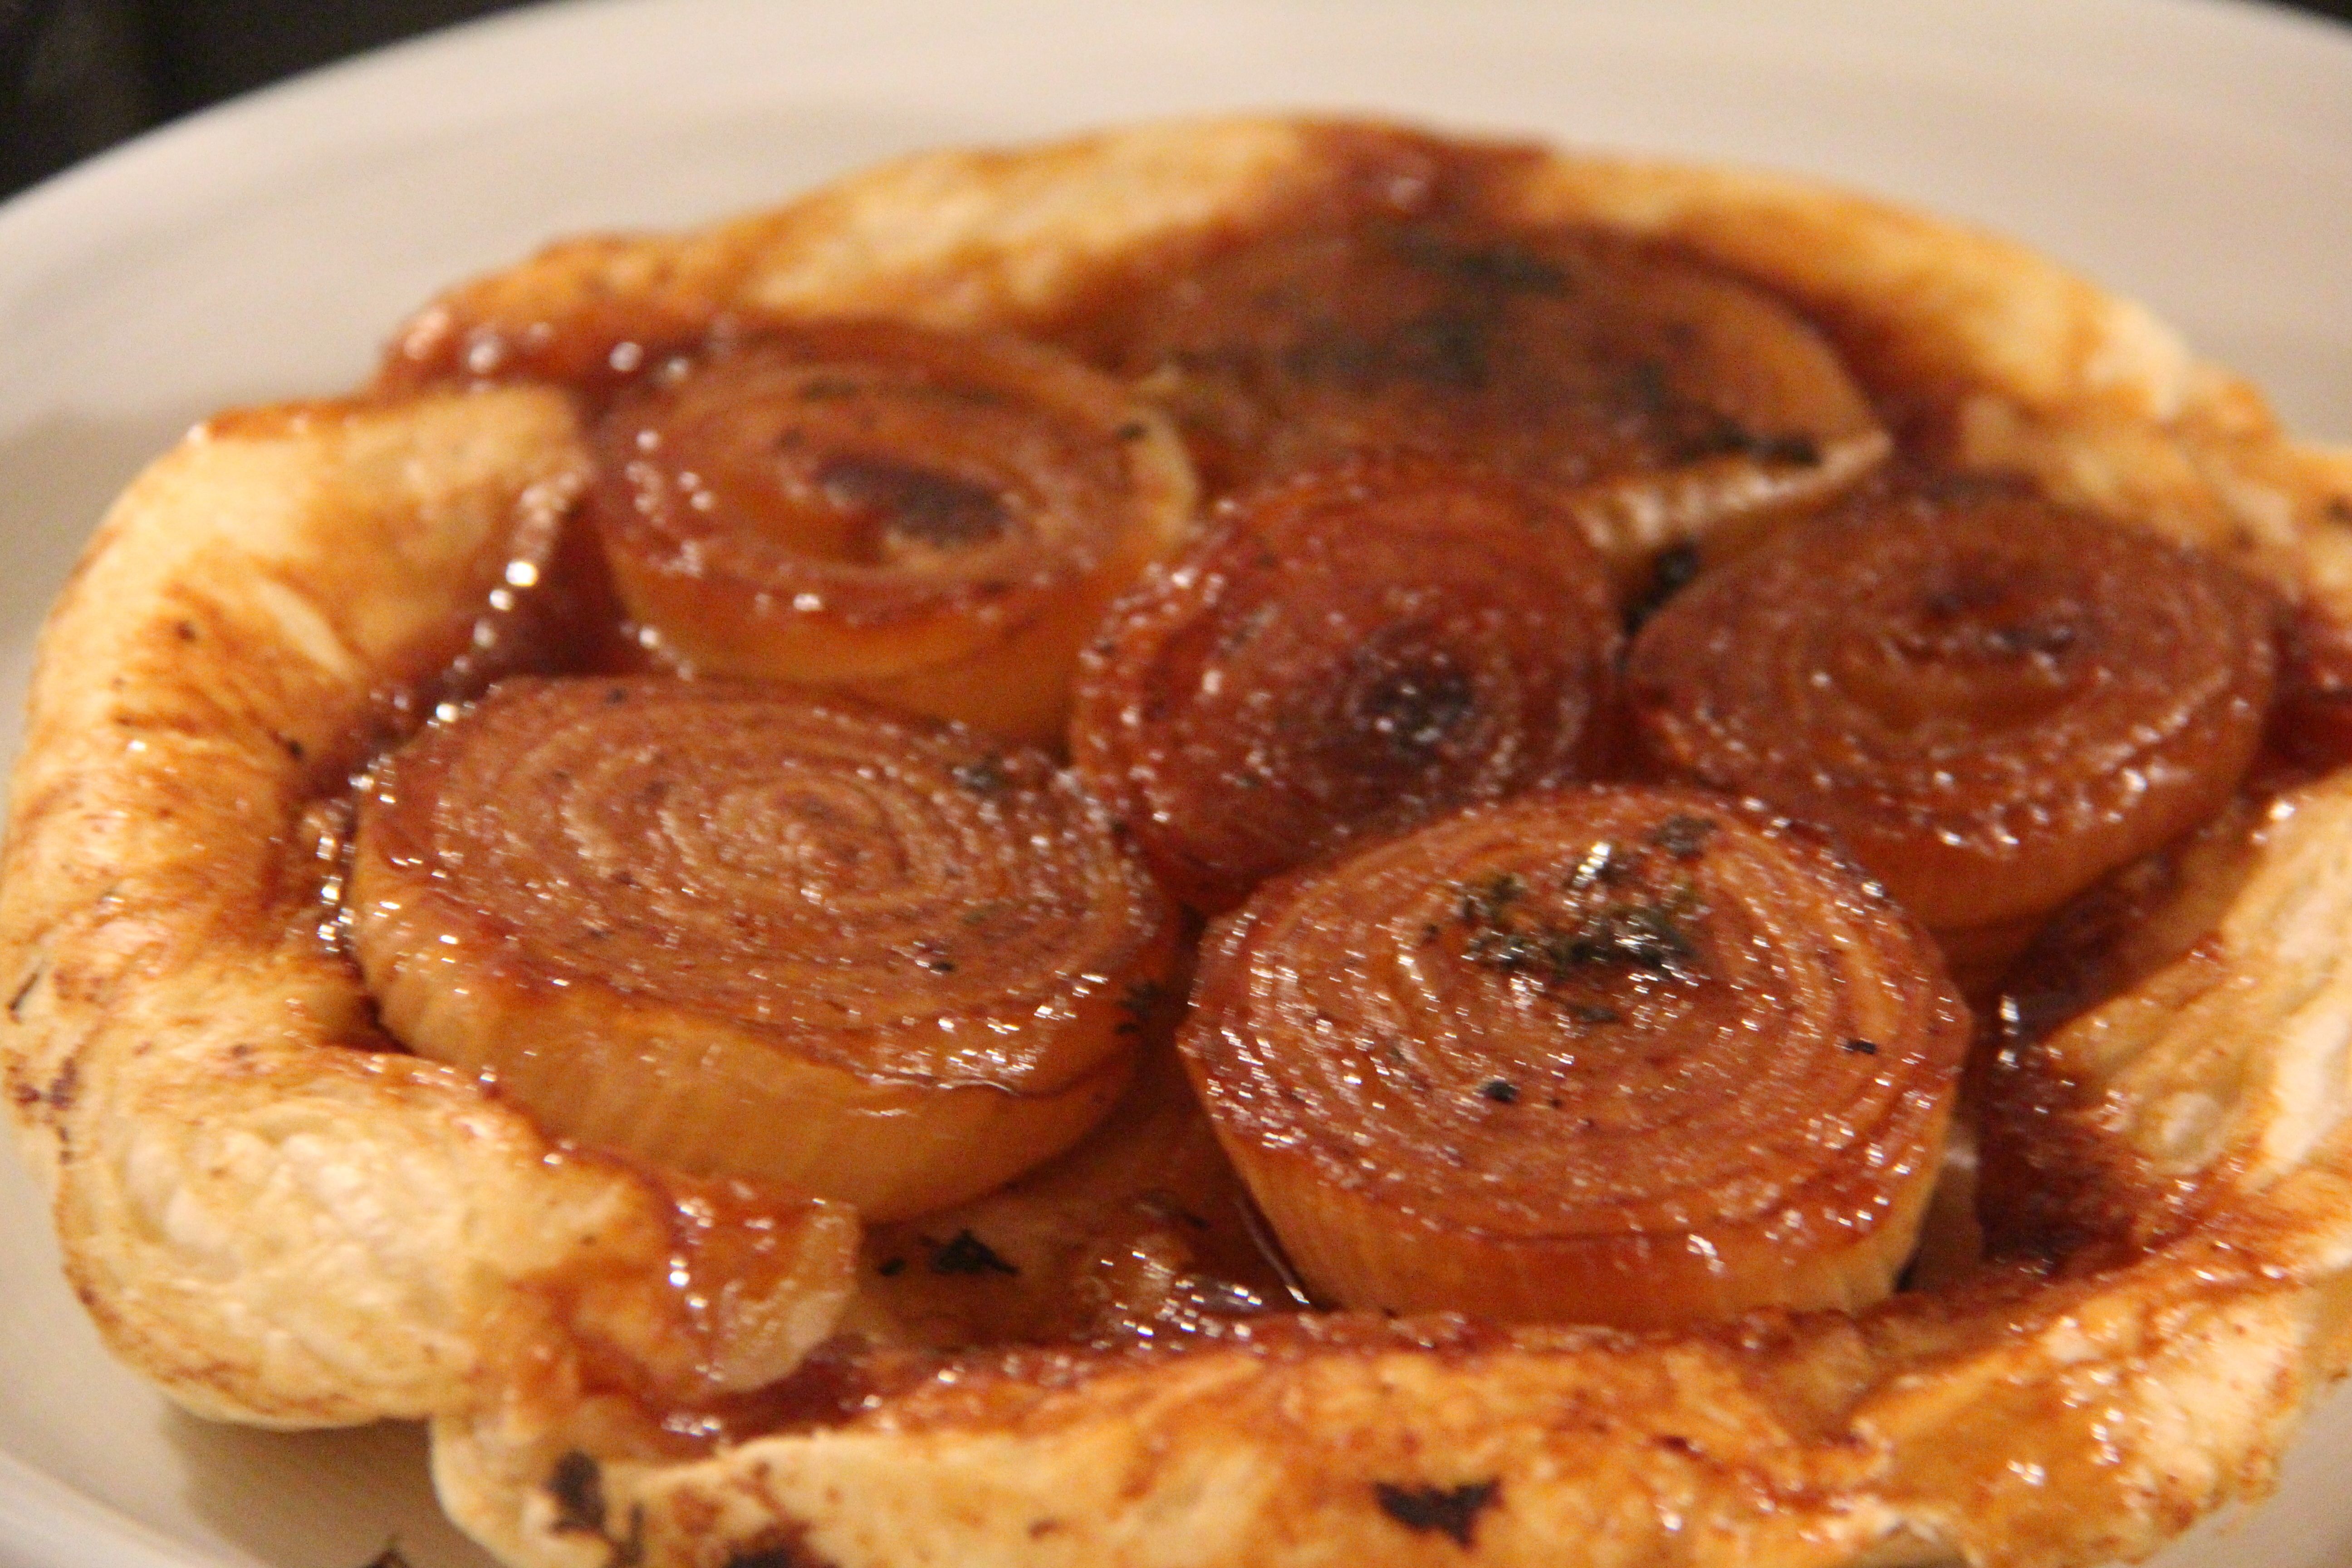
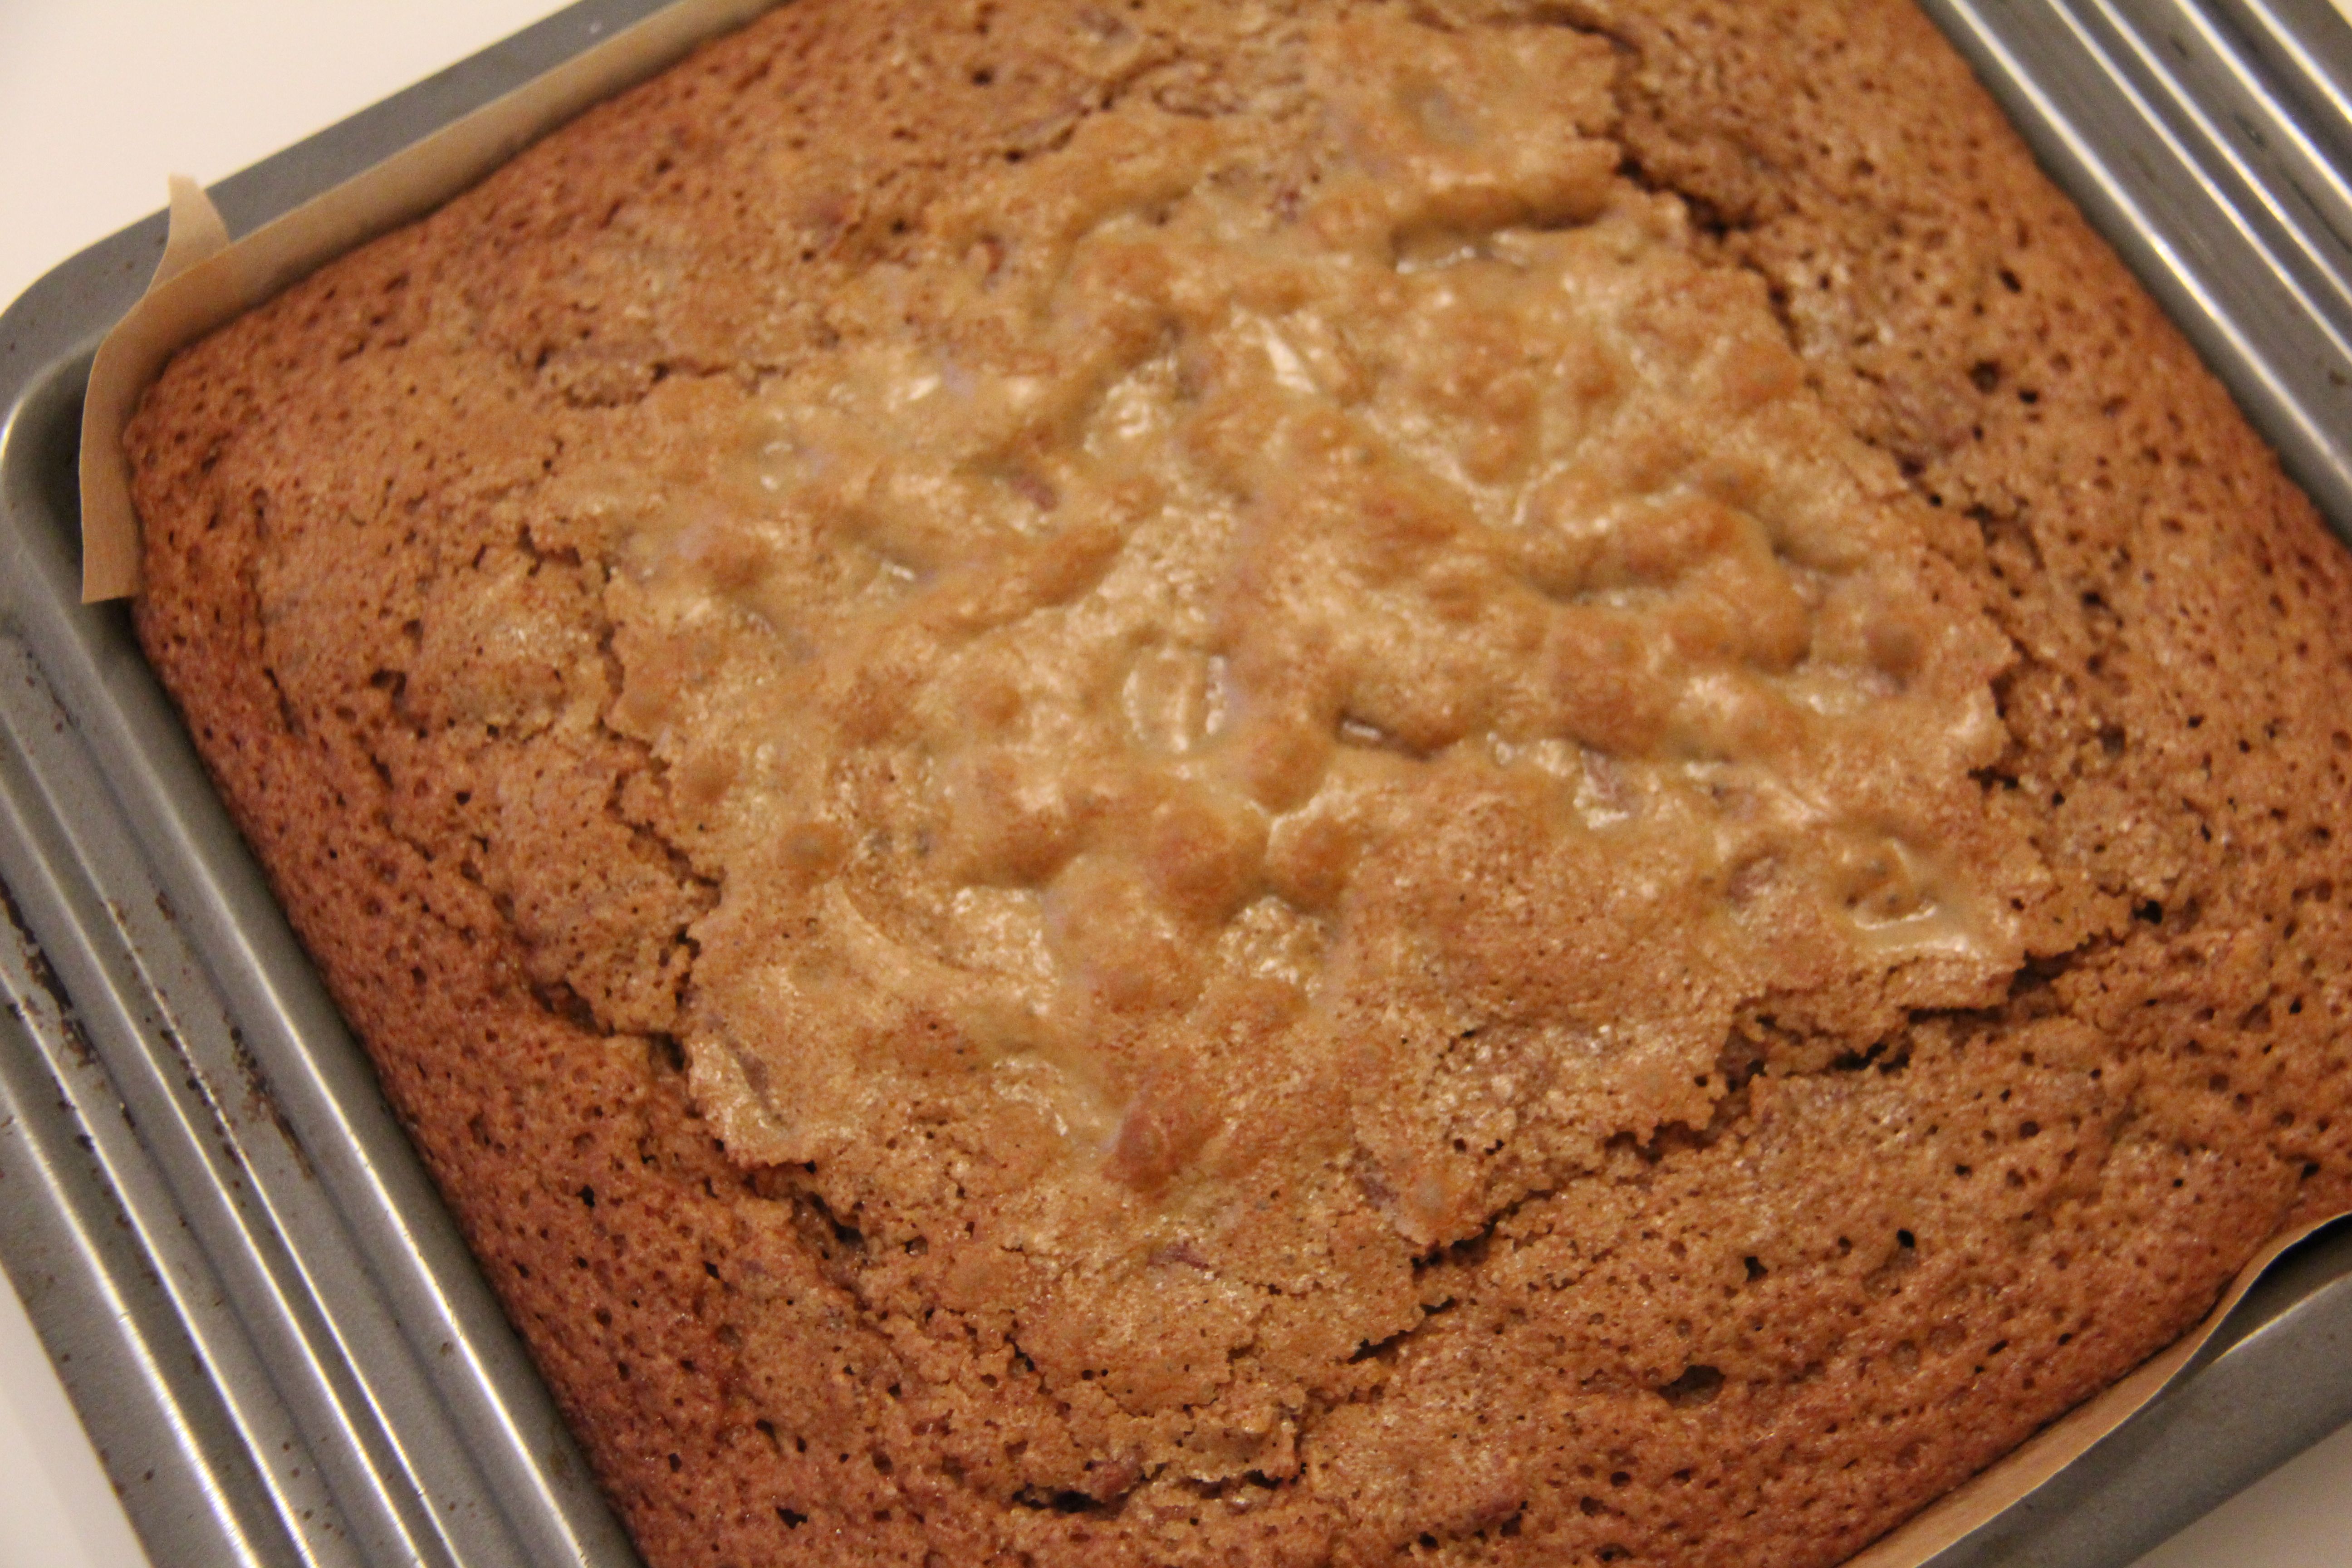
So, which recipe of Phil’s can I recommend? For me, this one wins hands down, and actually, the recipe is fairly straightforward as long as you have the time, and Radio 4 / Carly Simon / No Kids to keep you company. The first time I made this, I followed it to the letter, and made individual tarte tatins, with sticky caramelised rings of pineapple, spiked with tiny shards of chilli (see this review for a pic of the real thing). For the purpose of this blog post, I was a little lazier as time was short, and adapted it to make one large tarte.

I am, I admit, in the middle of a crush on limes, and its ability to add sharp enhancement to Asian dishes, and fragrant sophistication to desserts. I don’t think however, that I have ever come across lime and pineapple together (let alone with the addition of chilli) before – except maybe in a cocktail? And I love it – and am planning to devise a lime and pineapple cake, with maybe a touch of coconut?  In fact, Phil asks that we present his individual tartes on a flurry of coconut powder, which alas, I did not have handy, but will endeavour to source (or make with coconut oil and Sosa maltrodextrine, as advised….) next time…

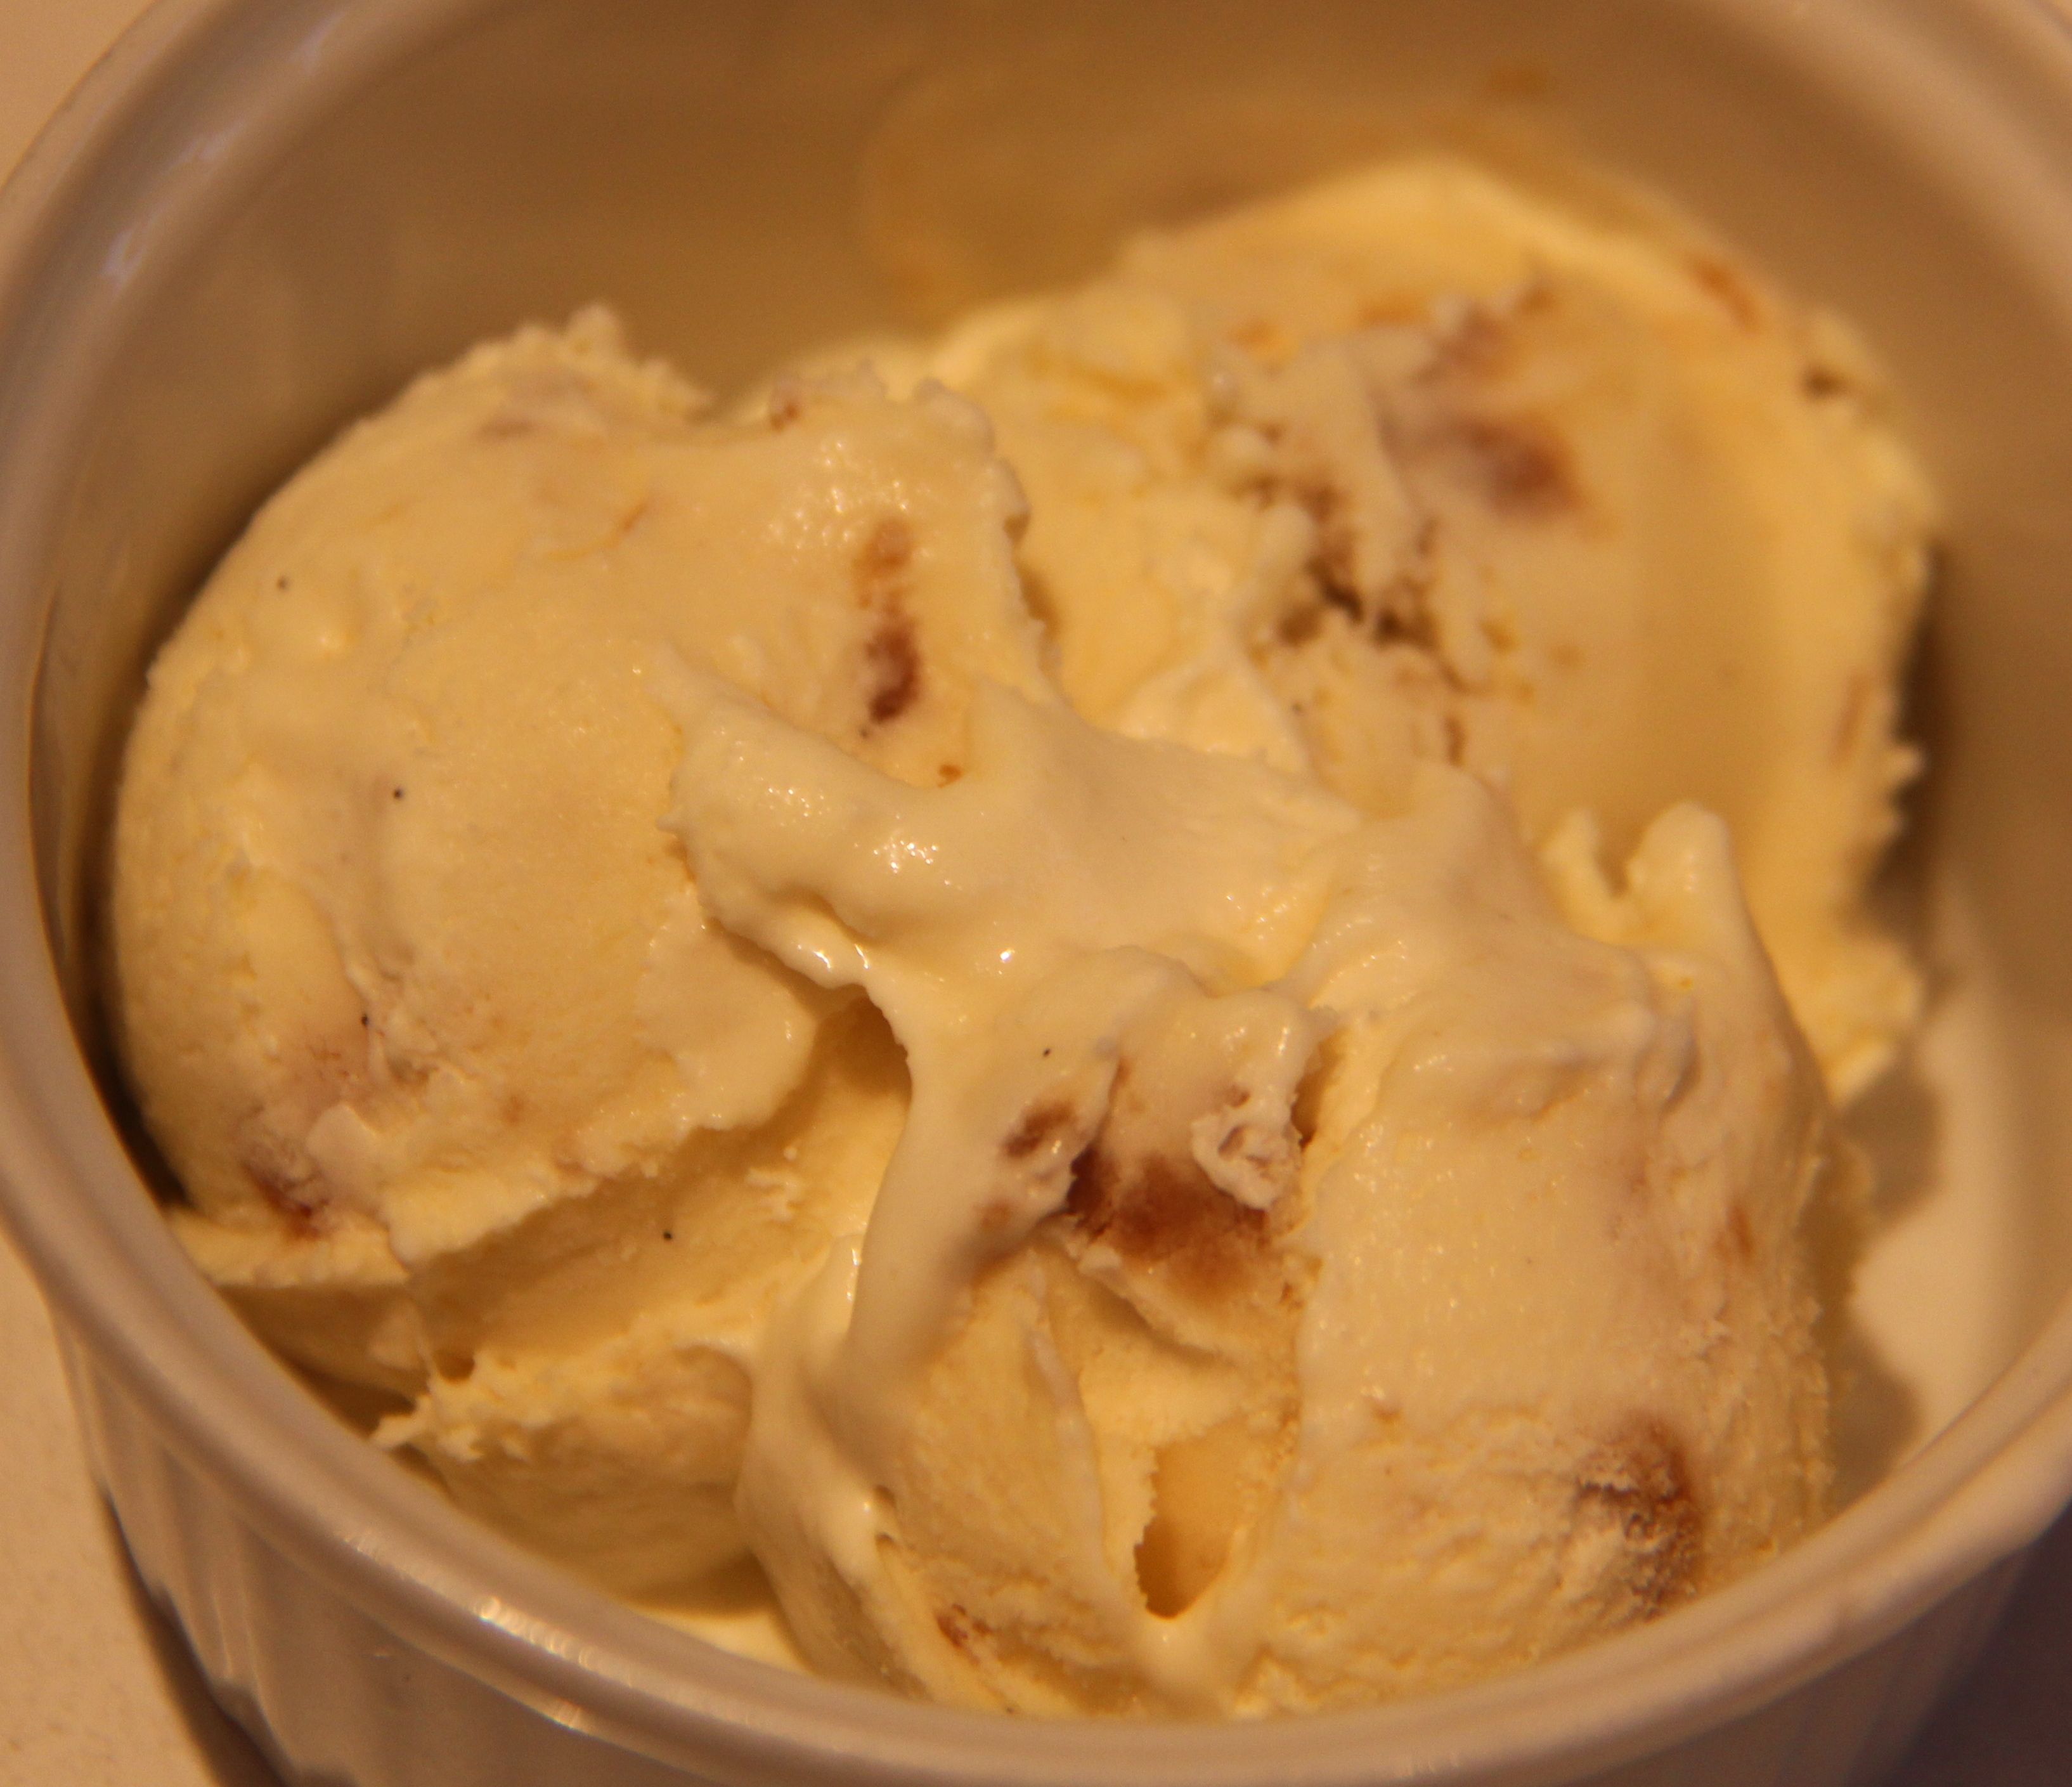
The lime ice-cream however, deserved more care, as it’s completely UNBELIEVABLE! (- the first time I have used capitals in this blog, as the trend annoys me, but necessary here to give you some idea of its fabulousness). Such a simple recipe, and delicious on its own, but with crisp butter pastry, and darkly toffeed pineapple, it is truly elevated to Michelin Star status.

INGREDIENTS – Serves 4

Puff Pastry (all butter – Anchor’s is great) – 400g

For the ice-cream

4 limes

250ml whipping cream

250ml icing sugar

For the Pineapple

1 supersweet ripe pineapple (important that it’s sweet for caramelising)

150g unsalted butter

150g caster sugar

1 red chilli

30ml white rum

METHOD

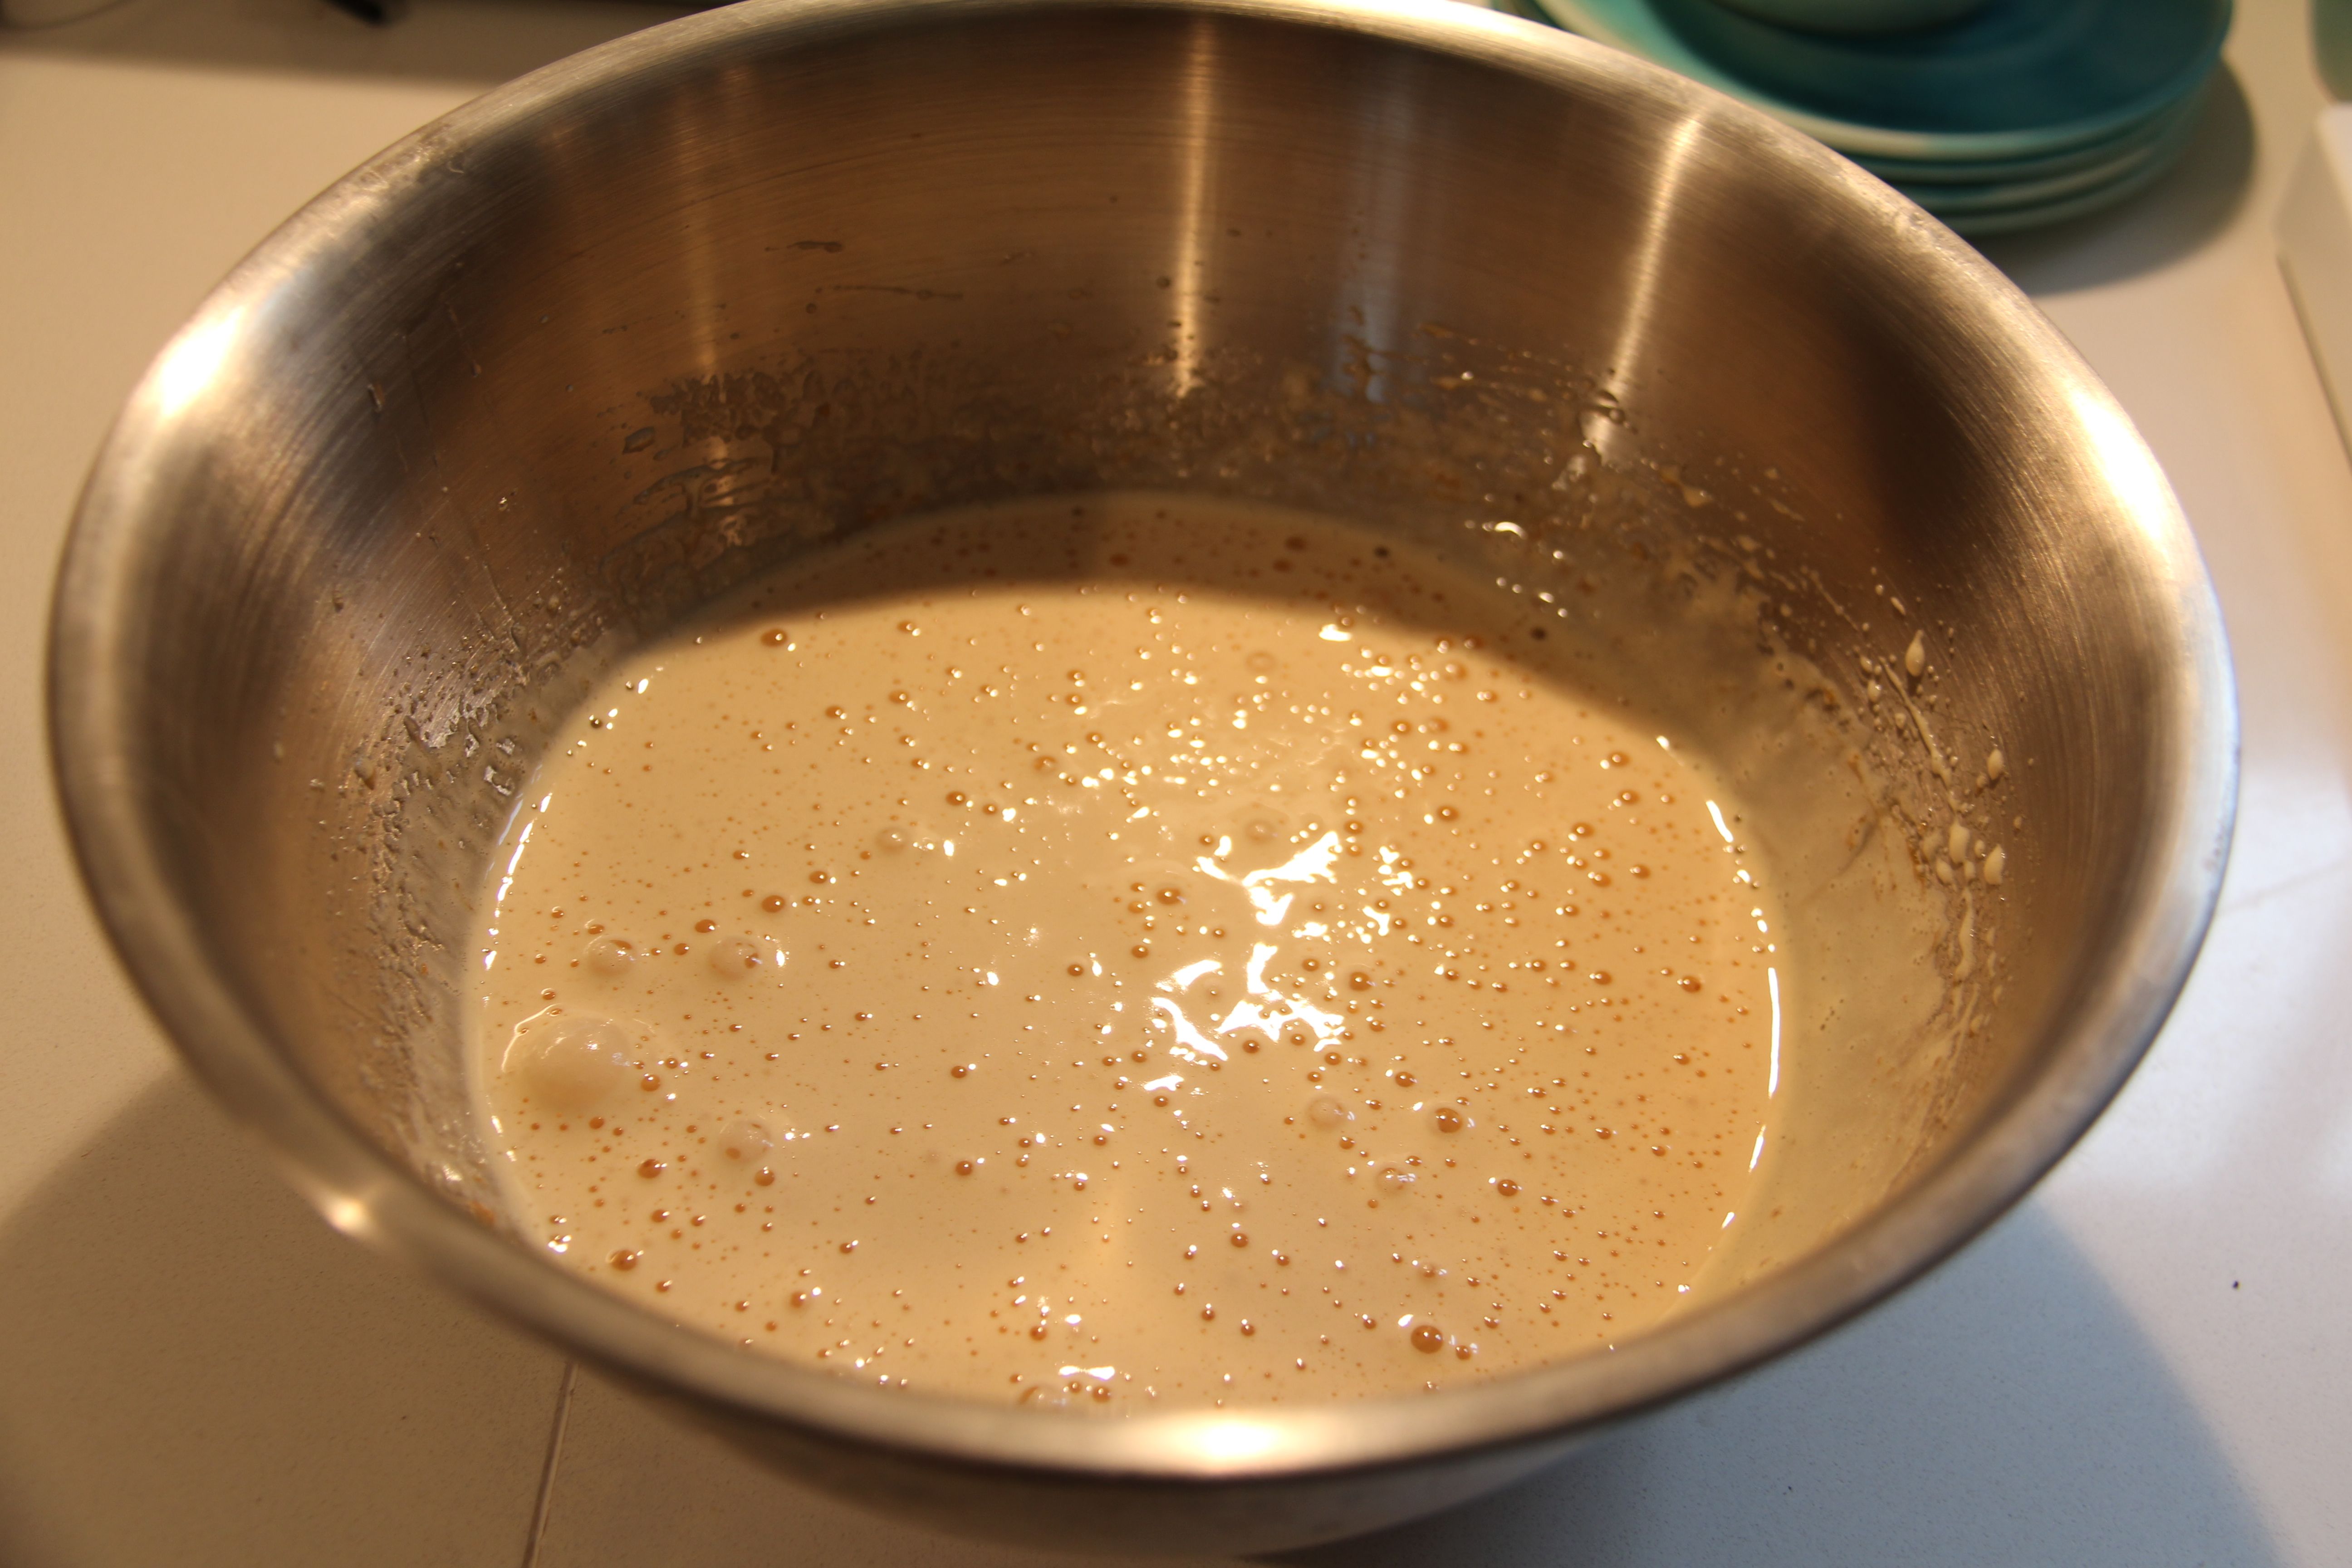
– Grate the zest from the limes as finely as possible and add to the cream and squeeze in 100ml of the juice, passed through a sieve.

– Add sugar and stir to dissolve, and if you can, leave for a few hours to infuse – preferably overnight.

image

image

– Churn in an ice-cream machine no more than two hours before serving

– Transfer to freezer

– Top and tail the pineapple

– Cut into small pieces, removing all the ‘eyes’

– Dry on kitchen roll for one hour

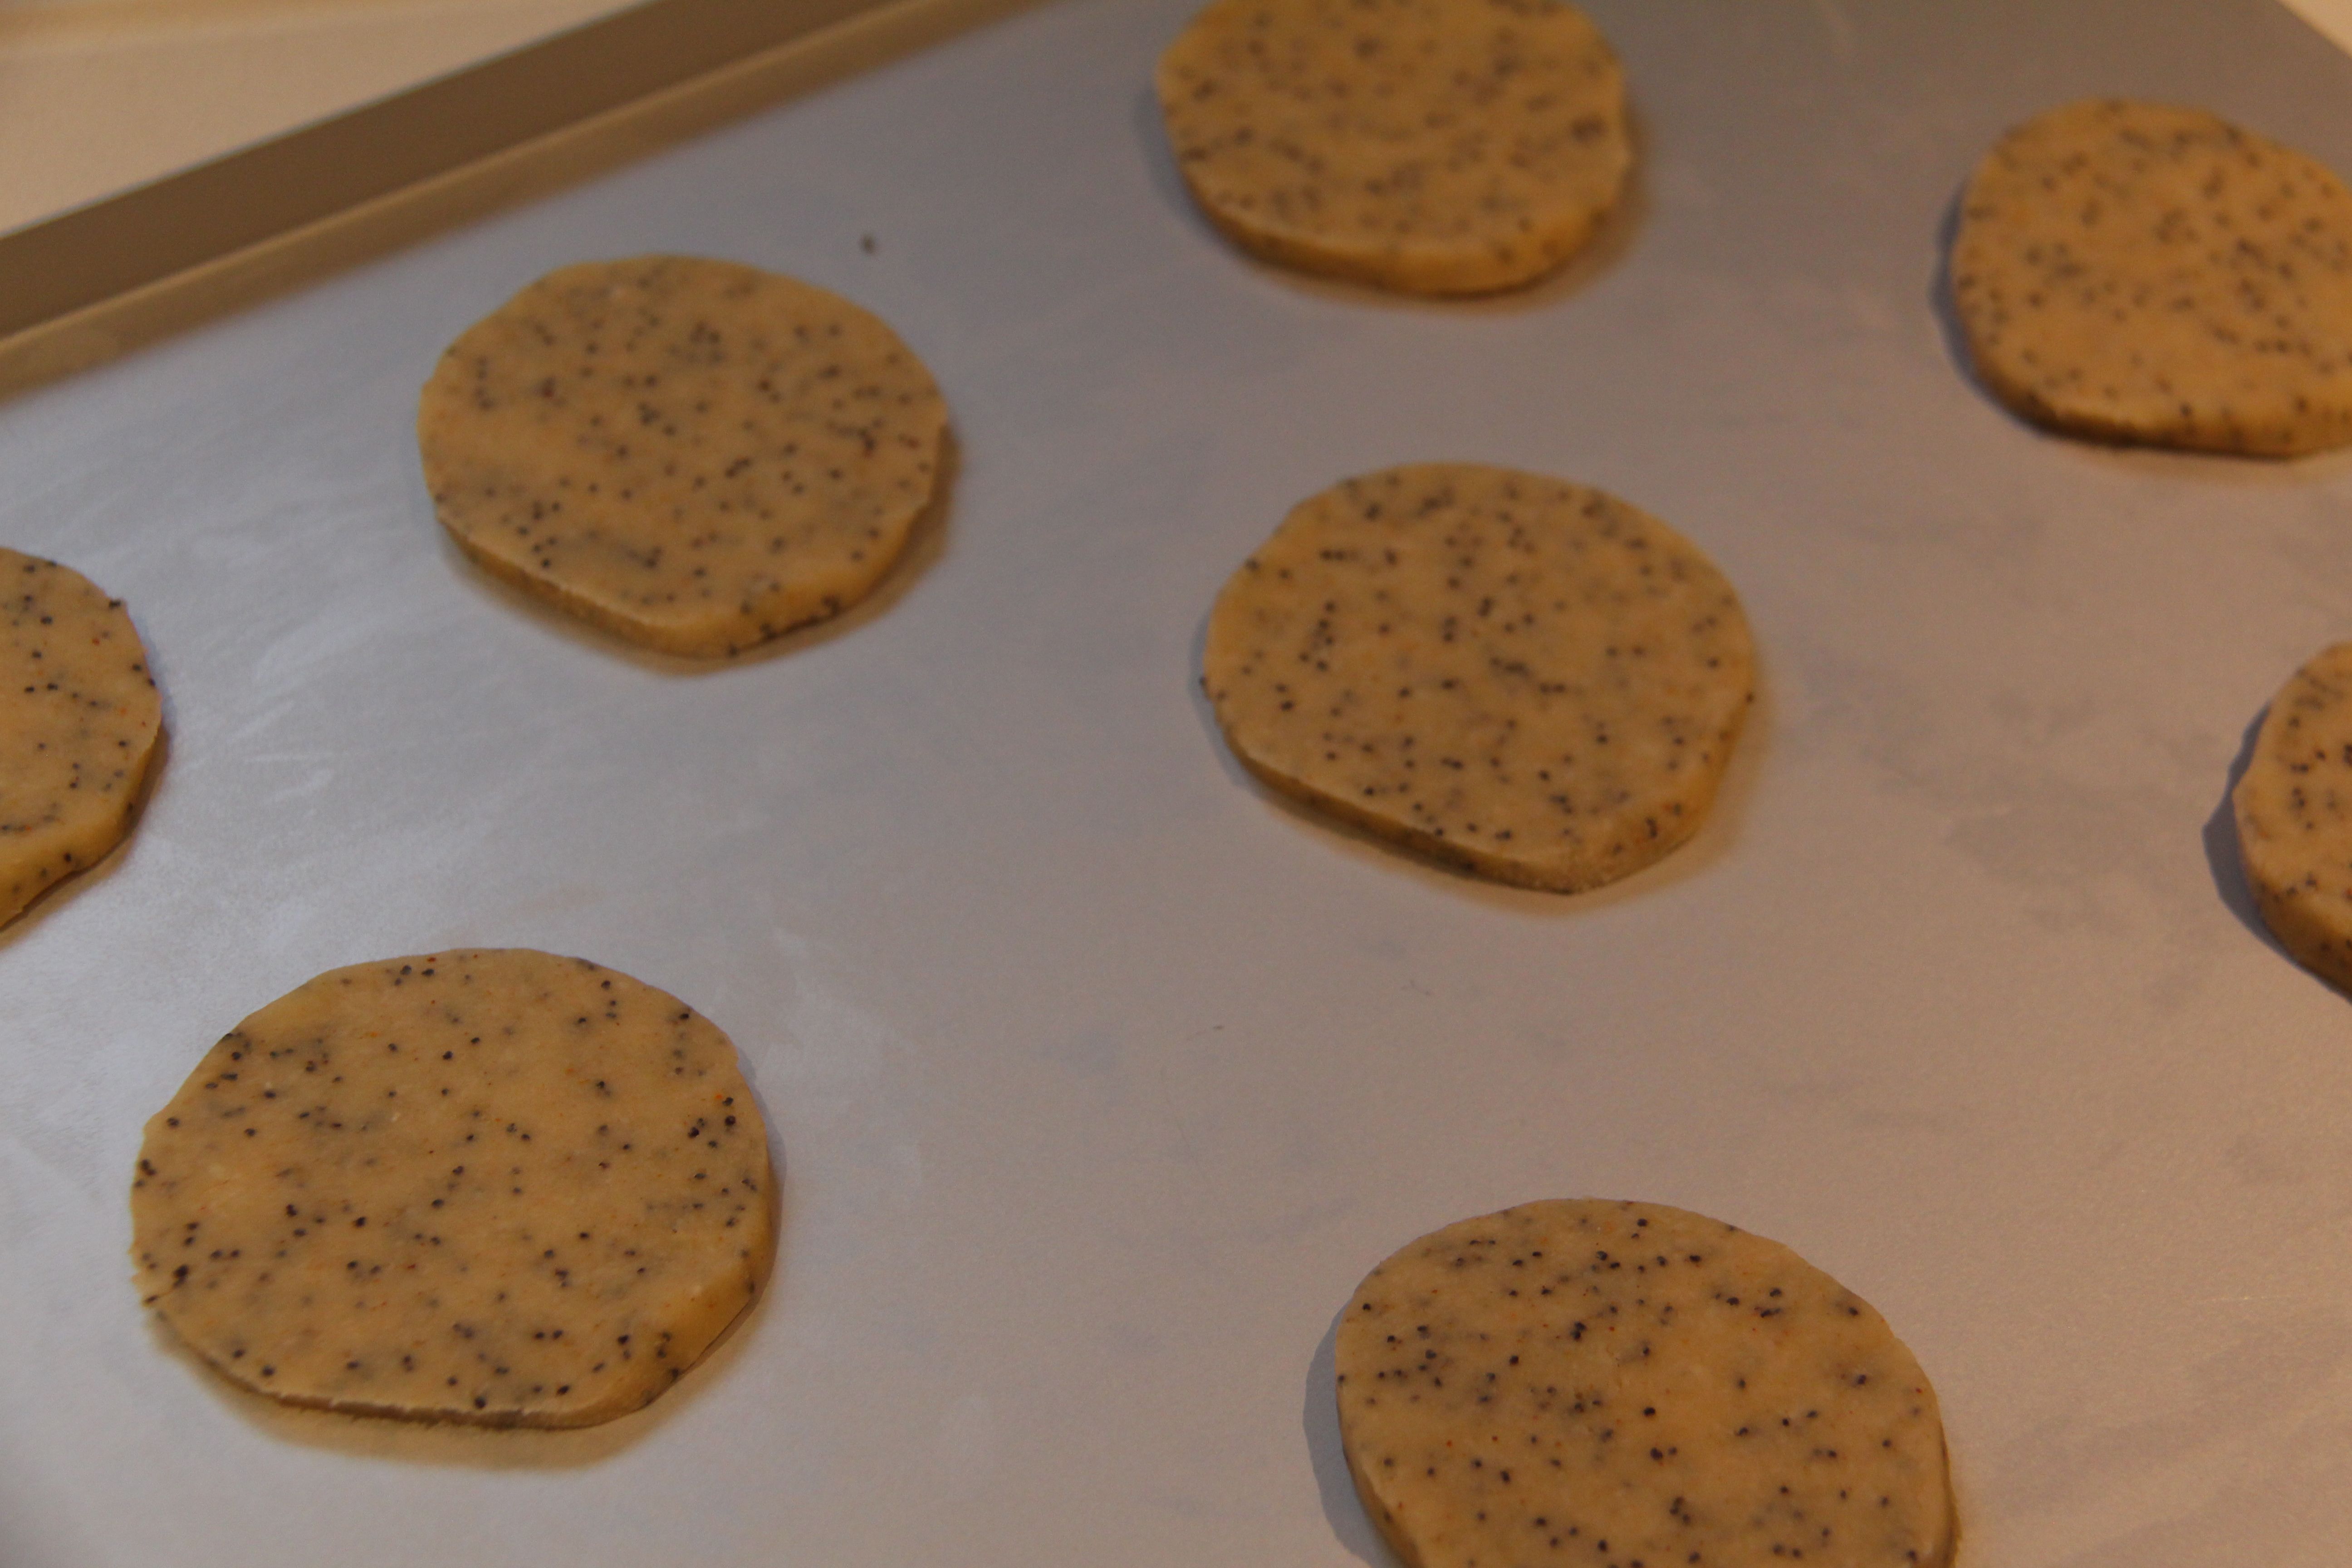
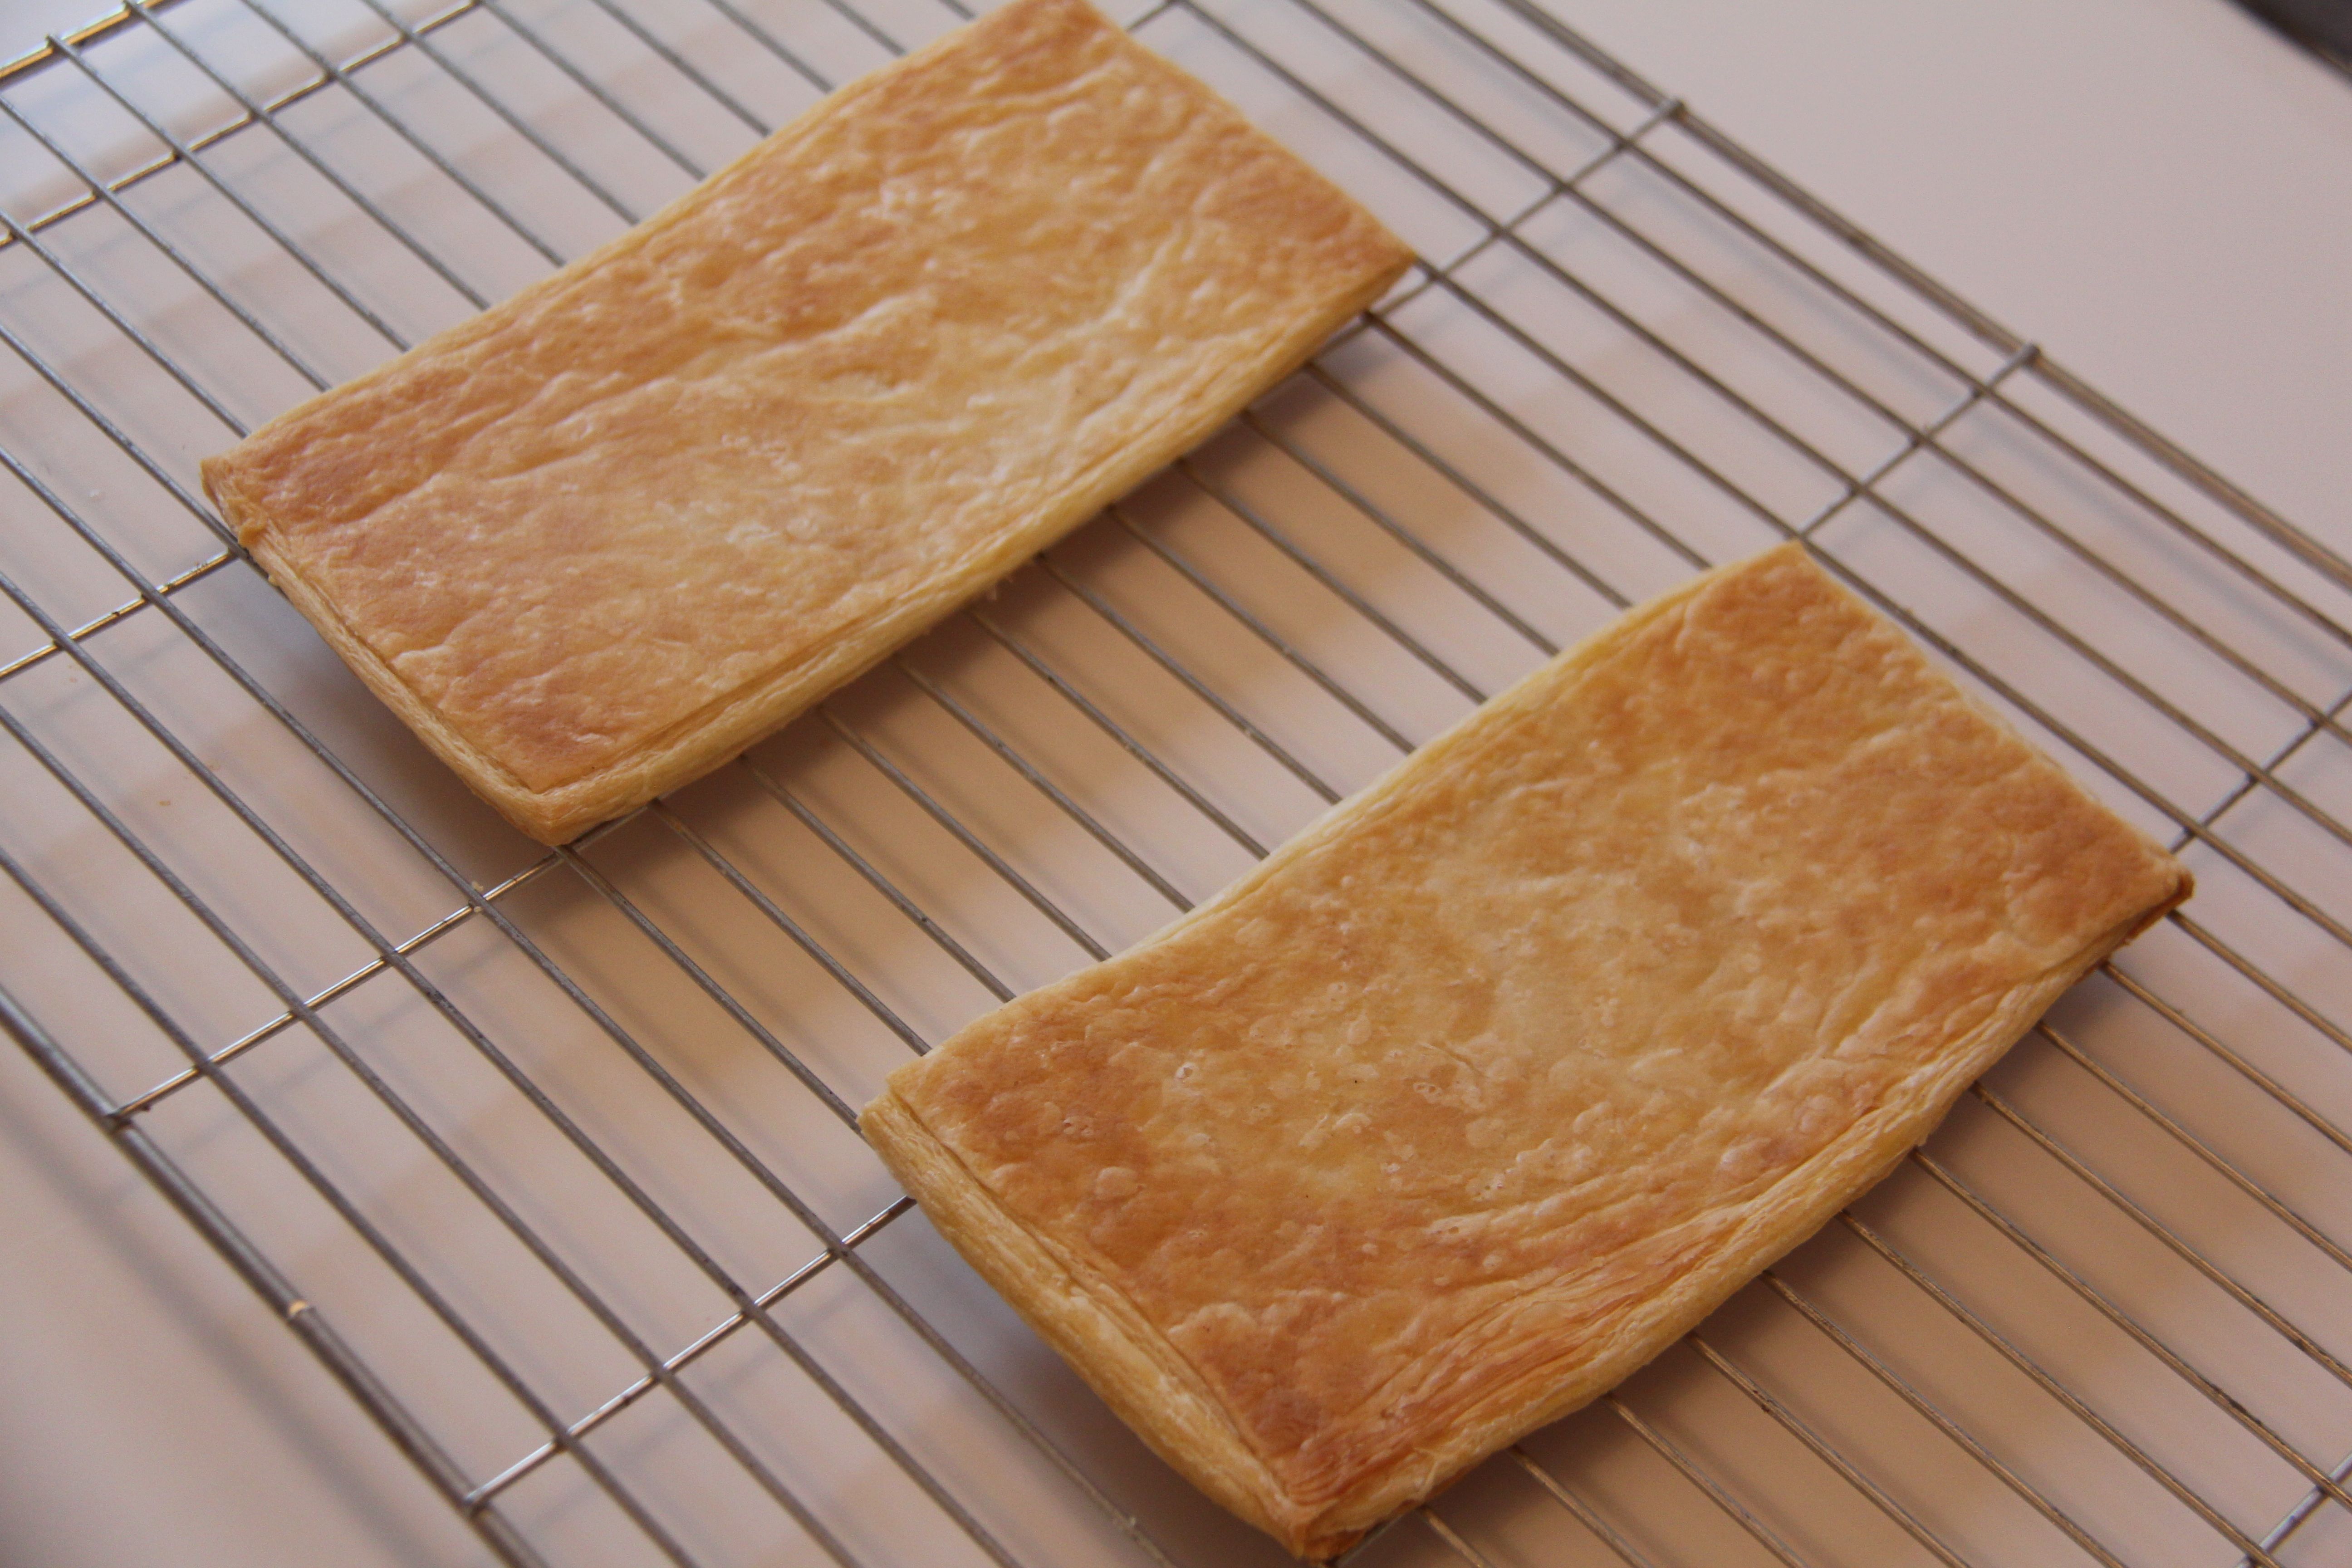
– Roll out the puff pastry into a round to fit a 20cm cast iron pan (2mm thick) and leave to rest

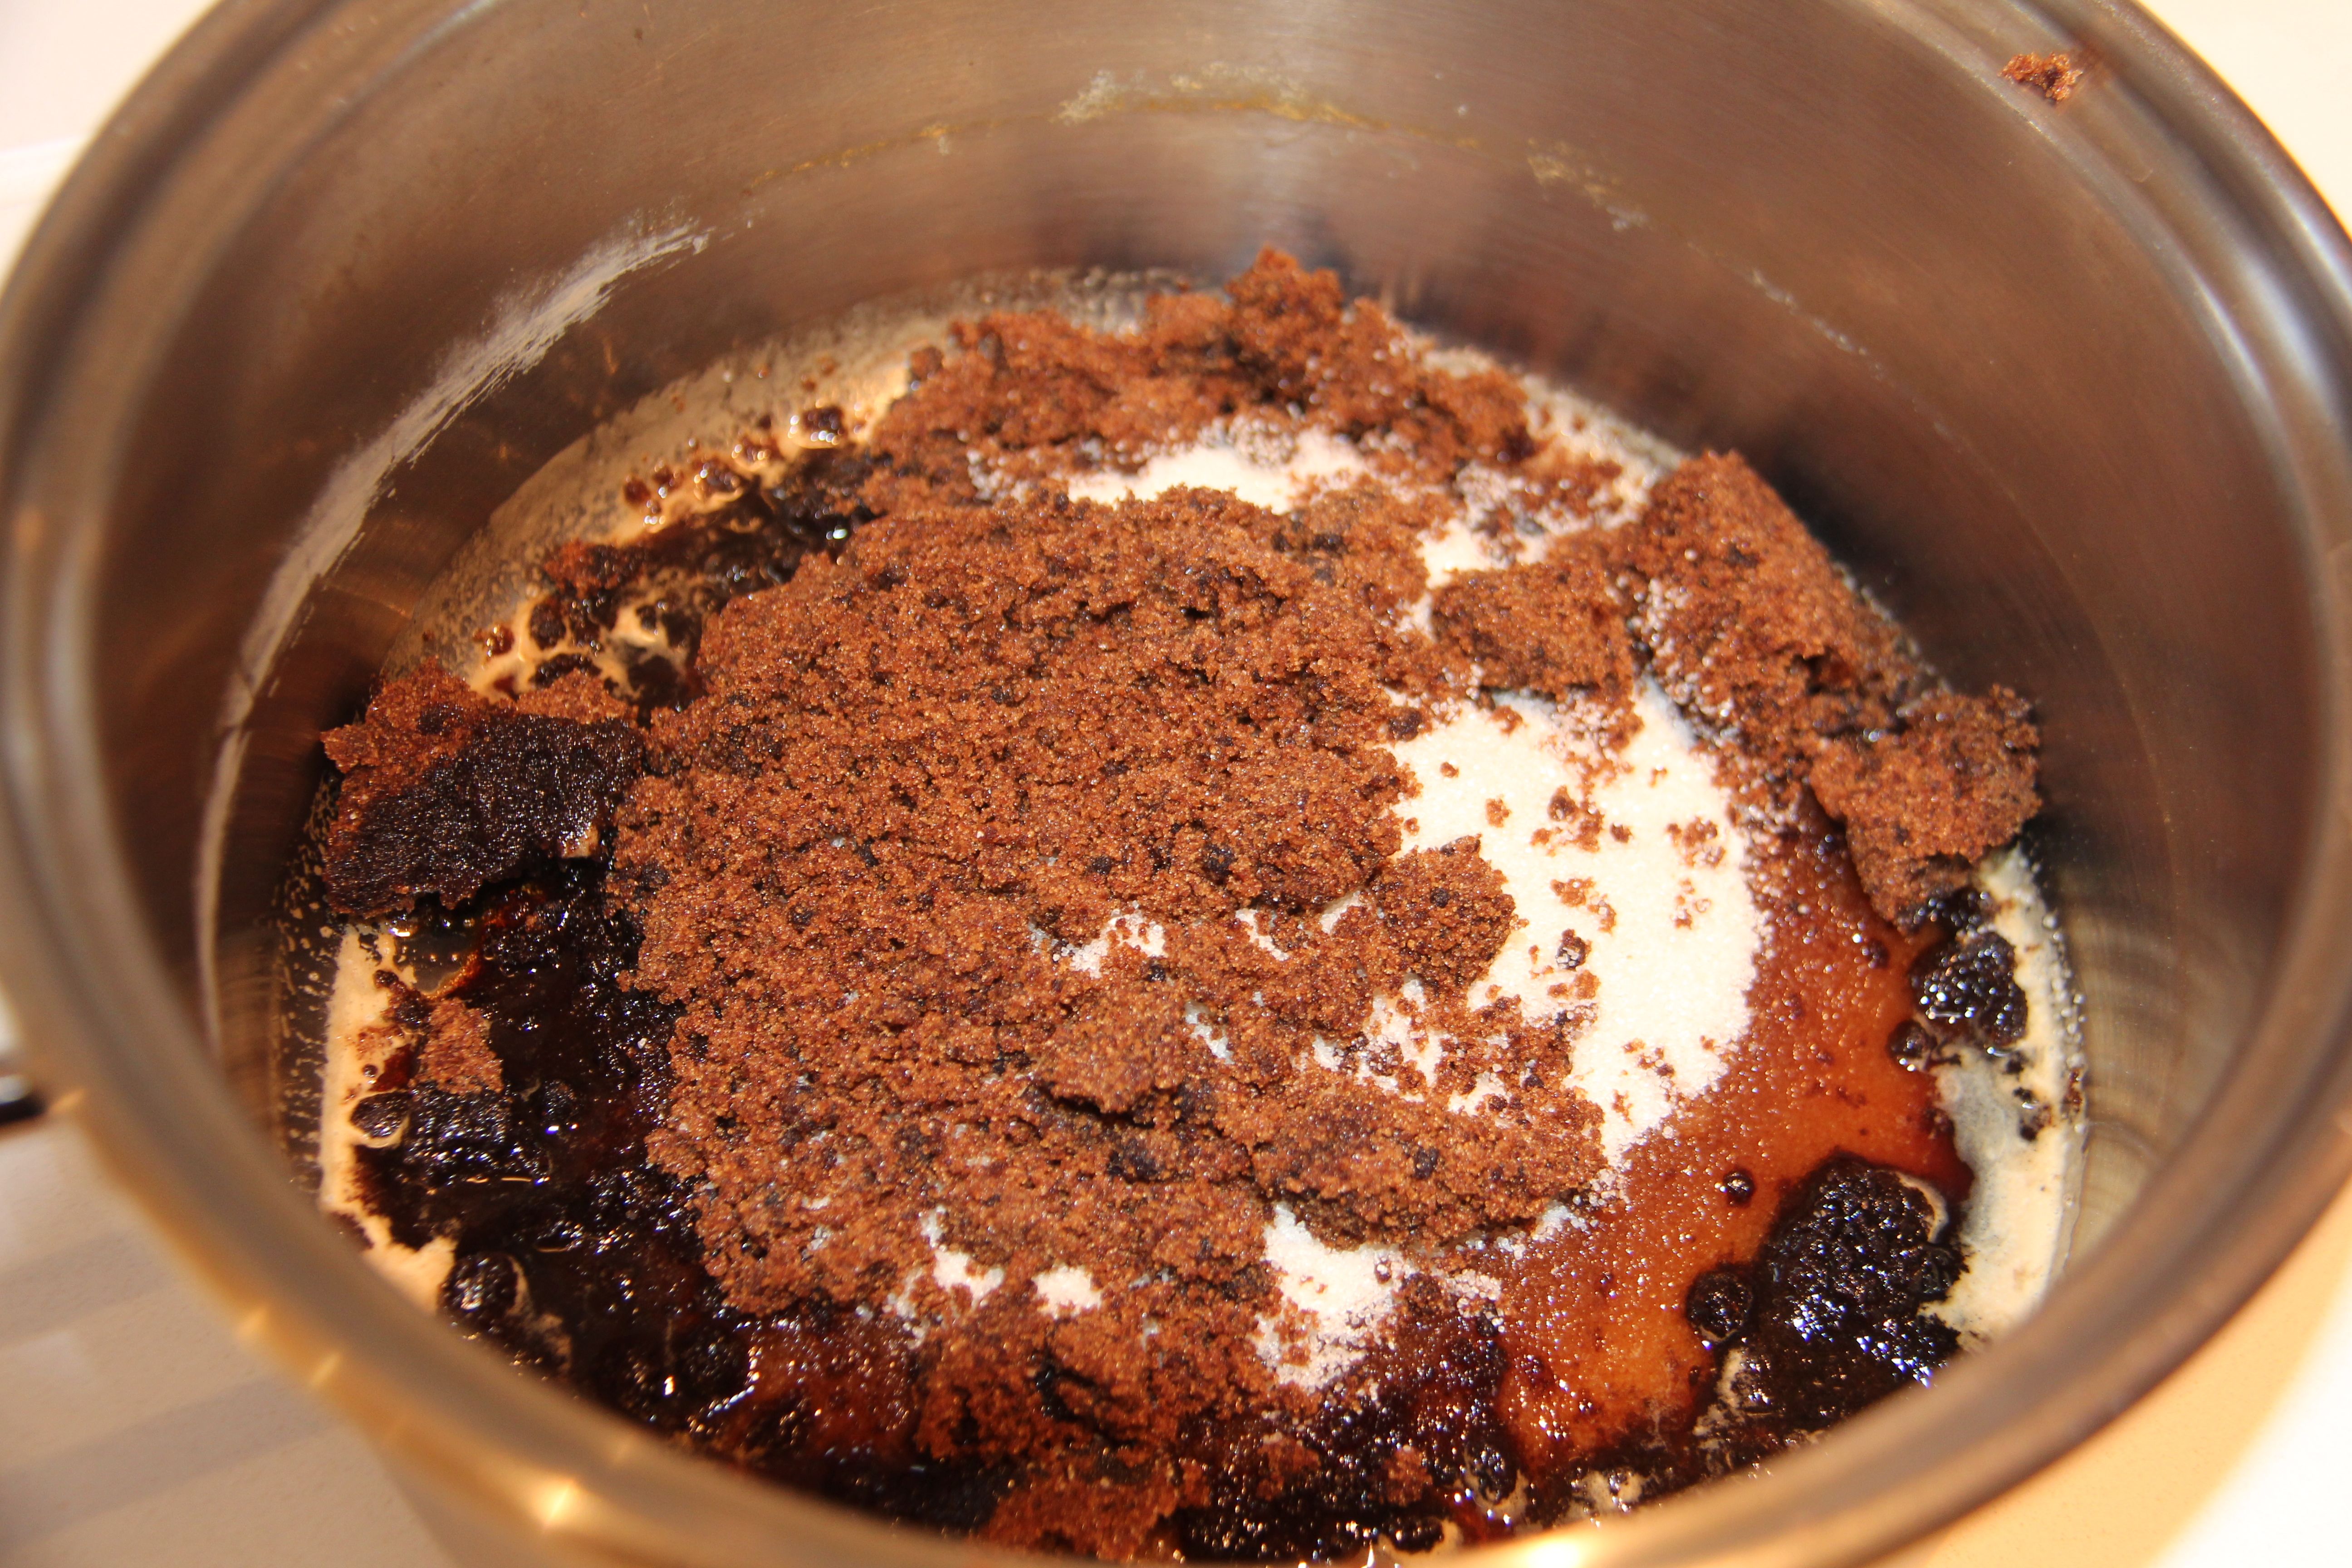
– Add butter and sugar to the pan and cook over a medium heat until you have a rich caramel

image

– Add the pineapple and cook until they are a rich hazlenut brown.

– Finely slice the chilli and add along with the rum and mix in.

image

– place the pastry over the pan and tuck in the sides

image

– put the whole pan in the oven on 180 degrees for 15 minutes until the pastry is golden and crisp.

image

– Turn out, slice up and serve with the lime ice-cream.

image

image

I only wish I had photographed the full Phil version, as it does look way more glamorous, with its flouncy skirt of crisp pastry accessorised with caramel swirls,  but it tastes just as good, I promise!


Sent from my iPad

Passion Fruit & Lemon

When we were in Australia two years ago, visiting my brother, I was amazed to see passion fruits growing all over his garden wall, providing not only beautiful purple flowers but a whole summer’s supply of that gorgeous golden nectar. My husband was in heaven for the short time we were there, as he is particularly passionate (sorry) about the fruit, and will buy anything he can get his hands on which is flavoured with it – yoghurts, coulis, ice-cream…and I have also been known to devise and adapt recipes to include passion fruit – all in the name of love brownie point scoring.

In terms of pairings, I find it complements so many flavours – chocolate (especially white), other exotic fruits such as pineapples and mangoes, and citrus fruits – lemon, lime and orange. In the past I have made tarts, possets, mousses and ice-cream but this is one of my favourites: Tea Cup Passion Fruit Puddings.

This recipe is a lovely dinner party dessert – even better, it can be made in advance, and heated up gently while you are eating your main course. It originally featured lemon curd and raspberries, but the swapping the latter for passion fruit did it no harm at all.

INGREDIENTS – Makes 4 large or 6 small cups

250 g Lemon curd

4 ripe passion fruits, seeds and pulp removed

3 large eggs

100g golden caster sugar

85g butter, melted

100ml milk

140g plain flour

½ tsp baking powder

Icing sugar, to dust

METHOD

–       Heat oven to 160C

–       Mix 150g of the curd with the passion fruit seeds and pulp.

IMG_4342

–      Divide between the cups.

IMG_4345

–      Put the eggs and sugar together in a large bowl.

IMG_4346

–       Whisk until pale and fluffy.

IMG_4350

–       Add the remaining 100g of curd, butter, milk, flour and baking powder. Fold the mixture together with a metal spoon until there are no visible lumps of flour, then divide between the teacups.

IMG_4356   

–       Line a roasting tin with a tea-towel.

–       Put the teacups in the roasting tin. Carefully fill the tin with hot water from a kettle to come about halfway up the sides of the teacups

IMG_4360

–       Bake for 50 mins until risen and golden.

–       Dust with icing sugar.

IMG_4379

–       Serve with creme fraiche or clotted cream.

–       Once cooked, you can cool the puddings and chill for up to a day. To reheat bake for 15 mins at 160C. They are just as good.

I wish I had taken a photo of these half eaten because I could have shown you how light and fluffy the sponge is above the silky sauce – but I guess you will just have to make them yourselves to find that out!


Carrot & Cumin

It’s been a while, but the Easter holidays have not left a whole lot of time for blogging! However, I have a couple of recipes to post including this soup from February when the rain wouldn’t stop and it felt like the only thing that would do.

My initiation into Indian ‘spices’ came in the form of  ‘The 70’s Curry’, a dish amusingly familiar to many of my contemporaries, and usually made from left-over roast lamb and a spoonful of Sharwood’s Curry Powder on a Monday night. Common to all however, seems to have been the rather bizarre but compulsory addition of fruit. For my mother it was apples (due to the surplus produced by my father’s orchard). For others, it was ‘exotic’ pineapple or banana (?) but always sultanas. Always sultanas. As I hated sultanas (and still do) curry nights would be hell for me, and a subsequent questionable encounter with a Vespa curry (a packet meal to which water was added…..) prepared by my first boyfriend (in an effort to impress) put me off Indian food for far too long. As with many of us however, I was saved by the Korma, attempted in a dodgy Indian in Coventry after a few too many in the Union bar, and I have now graduated to virtually the entire menu (but frequenting much nicer restaurants, you understand).

I don’t cook a lot of curries from scratch – I tend to use a good curry paste – but one spice I have particularly grown to love is cumin and while researching it, I found it has a fascinating history (prepare to be educated)! – thank you to www.whfoods.com.

“Cumin is native to Egypt and has been cultivated in the Middle East, India, China and Mediterranean countries for millennia. Cumin was mentioned in the Bible not only as a seasoning for soup and bread, but also as a currency used to pay tithes to the priests. In ancient Egypt, cumin was not only used as a culinary spice, it was also an ingredient used to mummify pharaohs.

Cumin seeds were highly honoured as a culinary seasoning in both ancient Greek and Roman kitchens. Cumin’s popularity was partly due to the fact that its peppery flavour made it a viable replacement for black pepper, which was very expensive and hard to come by. During the Middle Ages in Europe, cumin was one of the most common spices used. Around that time, cumin added another attribute to its repertoire—it became recognized as a symbol of love and fidelity. People carried cumin in their pockets when attending wedding ceremonies, and married soldiers were sent off to war with a loaf of cumin bread baked by their wives. Cumin’s use for fortifying love is also represented in certain Arabic traditions in which a paste of ground cumin, pepper and honey is thought to have aphrodisiac properties.

Who knew?

In the past I have used cumin with garlic, lemon, ginger and mint, and I prefer to grind and toast the seeds rather than use pre-prepared powder.  My abiding favourite pairing however, is the humble carrot. I think cumin lifts it to a completely higher plane, and even more so when it’s roasted and sweetly sticky.  This soup is fantastic for a cold dark day, which it happened to be when I made it (not so much now Spring is here, but hey ho!).

 INGREDIENTS – makes 4 large bowls

150g Butter

150g onions, chopped

300g Carrots

2 garlic cloves, crushed

1 large tsp Cumin seeds

1 tsp Madras curry powder

300ml chicken stock

 METHOD

–       Pre-heat the oven to 220 degrees centigrade.

–       Parboil the carrots (I find doing this prior to roasting ensures the carrots are cooked through properly and caramelize better).

IMG_4382

–       Chop the onion with the garlic (another really useful photo!)

IMG_4387

–       Sweat the onion, garlic. Add the curry powder and cook for 2 – 3 minutes.

IMG_4393

–       Toss the carrots in chicken fat (I always seem to have some lurking at the back of the fridge after a roast, and it really does add great flavour) or sunflower oil and Cumin seeds.

IMG_4392

– Roast on a baking tray for 30 mins until caramelized (warning: it will take consiserable willpower at this stage not to shove the whole lot into your mouth with your bare fingers…).

IMG_4397

–       Add the stock and carrots to the onions.

IMG_4399

–       Blend to a smooth puree and season with salt and pepper.

IMG_4405

Serve with swirl of crème fraiche and chopped coriander (I had neither to hand, but it was still fabulous).

Do you have any favourite Cumin recipes?


Cheese & Cayenne Pepper

My nanna was a great cook;  one of the things she made that stood out for me as a greedy child (nothing much changed there then!) was her Sables. French for ‘sand’,  they were particularly delicious cheese biscuits with a spicy kick that she would serve with drinks, cut into triangles and sprinkled with salt. Google tells me that they date back to 1670, and originated in Southern Normandy. Asking one day how she made them, I remember her saying. ‘easy as pie – equal quantities of butter, flour and cheese with a large pinch of cayenne pepper’ . I never forgot that, and although I have tried numerous other recipes – mainly for cheese straws (I like the statuesque impact of a spray of them on the table) I always go back to this one. You can’t make them into straws as the dough is too sticky, but they are always a huge hit whenever I serve them.

The brilliant thing is that they also welcome other flavours – I love poppy seeds in the dough itself, but I have also rolled them in the seeds for a pretty, crunchy border, or you can also add herbs (rosemary is good) crushed black pepper, chilli flakes or even garlic. I tend to use Gruyere cheese, but any hard cheese would be good – especially a strong cheddar. I have grated it finely here, but larger bits add a good crunch if you don’t have the seeds. The addition of cayenne pepper is quite unusual however, but it works so well with cheese and I often sprinkle it on cauliflower and macaroni cheese too for a bit of a kick! (see Tomato & Chilli, below). Some recipes advocate an egg yolk, but I’ve always found this makes the mixture too wet.

INGREDIENTS – makes 20 (I often double up….)

75g plain flour
75g cold unsalted butter, cubed
75g Gruyere cheese, grated
½ tsp cayenne pepper
Sea salt

METHOD

– Sift the flour and a pinch of salt into a bowl or food processor. Add the butter.

IMG_4156
– Rub in or blitz in the processor until it resembles breadcrumbs.
– Add the cheese, poppy seeds and cayenne pepper.

IMG_4157

– bring the mixture together with your hands or pulse in the processor.
IMG_4158

– Roll out into a sausage shape, wrap in clingfilm and chill for 30 minutes.

IMG_4159
– Heat oven to 200 degress and butter two baking sheets.
– Slice the biscuits off the roll in 5mm thickness (I find this easier than rolling out the dough as it’s still quite sticky).
– Put them on the sheets, leaving plenty of room for spreading.

IMG_4161
– Bake for ten minutes – keep an eye on them as they can go too dark quite quickly.

IMG_4164
– Once out of the oven, grind some sea salt on them and leave to cool for a few mins before transferring to a wire rack.

These are best eaten completely cold – I find if they are warm they are a little too greasy (although I know pinching one beforehand is virtually impossible to resist). These are fabulous with a glass of ice cold champagne – or sherry, should you wish to carry on my grandmother’s tradition…


Tomato & Chilli

I think if I could add chilli to almost every dish, I would. Just a hint of heat. I stop myself because a) that would be weird and b) I cannot eat anything hot without an ice cold glass of wine or beer, and as I am trying to cut down on mid-week alcohol, it would not be prudent….Then I spotted this recipe in Harry Eastwood’s ‘A Salad for All Seasons’  and as I had a lonely fat chilli slowly withering in the fridge, along with a surplus of cherry tomatoes, I decided to give it a go. I have also just had some ‘pantry’ shelves installed in my utility room, which are crying out for rows of home-made jars of deliciousness. And delicious it is. I have popped it on practically everything I have eaten since; crunchy cheddar cheese, left over roast chicken, smoked salmon, omelette, jacket potato and stirred into creme fraiche for a dip for chips. A bottle of New Zealand Sauvignon has also disappeared. Oopsie.

I adapted Harry’s recipe a bit as I knew my chilli was fiery, (she recommends 5) but go with what is available and how hot you like it.

It’s so easy to make – and looks stunning on the table.

INGREDIENTS – makes 1 x 350ml jar

300ml wine wine vinegar

300g caster sugar

One large or two small red chillis

6-7 cherry tomatoes

METHOD

– Warm the vinegar and add the sugar until melted

IMG_4329

– scoop out the cherry tomatoes (you could easily use normal tomatoes actually)

IMG_4335

– chop the chilli (I don’t have a photo of this, but I think you know how it looks!)

– add to the pan and simmer for 15 mins (look, I’ve made up for it with two more pics of the pan!)

IMG_4337

IMG_4338

– pour into a sterilised jar (put it in the oven on 180 for 15 mins, then cool)

IMG_4340

– cool, add a wax seal if you’re thinking of keeping (sure about that?) along with a smug, hand-written label!

Obviously if you have a surfeit of chillies (as we inexplicably did one year in our tiny veg patch) make a large batch and give some away to friends. This will mean you can then greedily but shamelessly help yourself whenever you eat at their place…

Apple & Blackberry

Blackberries are one of the few foods for me that really are still truly seasonal;  their flavour has the effect that strawberries used to – transporting me immediately back to the last few days of summer, and blackberry picking walks, collecting as many bramble scratches on my forearms as fruit in my soft-scoop carton.  Their inky shine and spicy mustiness is almost too exotic for an English fruit, but English it is, and as such it is most commonly found in crumbles, puddings and pies come September, often combined with its soulmate, the Bramley apple.

The cultivated variety, sold in supermarkets look fabulous – prodigiously bursting with juice, but lack the intensity of the wild blackberries, grown at the mercy of our unpredictable weather. So, imagine if you will, my excitement last August when, while walking a golf course with my family, we spotted berries with the same magnificent looks, but hanging proudly off a large clump of bushes (beneath a heavily laden apple tree – you couldn’t make it up). In a state of slightly embarrassing excitement, I commandeered every improvised receptacle in sight to collect the bounty. Several baseball hats and gathered golf towels did the trick, and we returned the following day with Tupperware to do the job properly.

There was so much fruit that I was able to make several pots of jam (combined with cherries also found on the same walk) and a couple of blackberry and almond tarts before squirrelling the remainder away in the freezer. I have been chucking the odd handful into milkshakes ever since, but pulled the rest out last week to combine with the last of the my father’s Bramleys in an apple traybake. This is really versatile as it can be served with coffee or as a dessert with custard. This is just as well, as it can’t hang around – the sugar loses its crunch indecently early – after about a day, so although it’s still good, immediate gobbling is recommended!

INGREDIENTS – makes about 10 – 12 pieces

450g cooking apples (such as Bramley)

Two good handfuls of blackberries

juice of ½ lemon

225g butter, softened

280g golden caster sugar

4 eggs

2 tsp vanilla extract

350g self-raising flour

2 tsp baking powder

4 tbsp milk

demerara sugar, to sprinkle

METHOD

– Heat oven to 180C/fan 160C/gas 4. Butter and line a traybake tin (approx 27cm x 20cm) with parchment paper.

– Peel, core and thinly slice the apples and squeeze over the lemon juice.

IMG_4179

– Remove your blackberries from the freezer if you need to – they don’t need to be completely thawed.

IMG_4175

– Place the butter, caster sugar, eggs, vanilla, flour and baking powder into a large bowl and mix well until smooth, adding the milk as you go.

IMG_4176

– Spread half the mixture into the prepared tin. Arrange half the apples and blackberries over the top of the mixture, then repeat the layers.

IMG_4180

– Arrange blackberries and slices of apple on top and sprinkle over the demerara sugar.

IMG_4183

– Bake for 45-50 mins until golden and a skewer come out clean. Leave to cool for 10 mins, then turn out of tin and remove paper. Cut into bars or squares.

IMG_4184

IMG_4208

If you can you get hold of blackberries where you are, let me know how you cook with them!

Rhubarb & Vanilla

My internet has been playing up over the last couple of weeks, so I haven’t been able to post. I know this is a cardinal sin when you are setting up a blog, so yes, it’s annoying. However, it’s also heresy not to market your blog via every social media platform going, and I’ve so far failed at that too.  I haven’t been lazy tho’ – I have three flavour pairings to post, which I will endeavour to do this week, and I am also determined to up my views and comments, as this blog was conceived in the spirit of sharing…

This weekend I was invited to lunch with one of my dearest friends and family, and as I had some deliciously pink rhubarb in the fridge, I offered to make a rhubarb tart. I was also ridiculously excited about using my new long tart tin, so it made perfect sense to combine the two.  Forced rhubarb is in season here and I love its deep crimson colour and exotic floral flavour. I confess however, to usually only making crumble. I think one of the main reasons I haven’t experimented more is the fact that it is so polarising.  So many people claim to dislike rhubarb that whenever I have cooked a crumble for guests I am minded to also knock up an alternative dessert, and it’s almost always surprising who does and doesn’t choose the crumble. ‘It’s the stringiness’ they say, but if cooked properly it should never be stringy, just satisfyingly smooth and silky. Or ‘It’s sour!”. I agree, it is, and it does need a careful balancing with sugar to take the edge off while still retaining that sophisticated tartness.

Of course it’s most known for its pairing with vanilla, mostly in the form of custard (which was my inspiration for this tart) but it’s also fabulous with orange (which I also made use of here) and spices – although I prefer it without, as I feel the flavours tend to fight each other rather than complement. It’s also rather wonderful with almonds, which is why I put some in the pastry, but it’s really not necessary. I also really like this sweet pastry recipe – sometimes I find sweet pastry just too rich, but this was perfect.

INGREDIENTS – serves 8

FOR THE RHUBARB

700g forced rhubarb

50g caster sugar

Juice half an orange

1 tsp vanilla extract

FOR THE PASTRY

225G plain flour

25g ground almonds

2 tbsp icing sugar

140 unsalted butter

1 large egg yolk

FOR THE CREME PATISSERIE

250ml whole milk

1 tsp vanilla extract

4 large egg yolks

2 tbsp caster sugar

1 tbsp cornflour

1 tbsp flour

25ml double cream

METHOD

–  First make the pastry by putting the flour, sugar, almonds and butter in a food processor and blitz.

– While the motor is still running, add the egg yolk and enough iced water to combine and tip out, form very gently into a ball, wrap in cling film and pop in to the fridge for half an hour

– Now make the ‘creme pat’. Whisk the egg yolks, sugar and flours in a largish bowl.

– Heat the milk and vanilla until just simmering.

–  Whisk in the hot milk and strain through a sieve back into the pan on a low heat, and stir until thickened.

IMG_4226

– Transfer into a bowl and cover. Chill for at least an hour.

– Remove the pastry from  the fridge and roll out 2mm thick. Line your fluted tart tin (12 x 35xm). leaving the edge overhanging. Make sure you press carefully into the corners.

– Bake blind for 15 mins in an oven 200c/gas 6. Remove the baking beans and bake uncovered for another 8 mins. Keep a sharp eye on it so it doesn’t get too brown on the edges.

– Saw off the overhanging pastry (and shove in mouth!) and with a pastry brush, brush egg white over the bottom surface for extra proofing against leakage! Leave to cool.

IMG_4223

– Lastly, cut your rhubarb into batons which will fit snuggly inside your pastry case.

IMG_4228

– Melt the sugar in the water, vanilla and orange juice. Strain to get rid of any orange bits, and poach the batons in a  shallow pan for no more than 5 mins at a simmer. It’s important that you cover the rhubarb with water, so add more if you need to.

IMG_4222

–  After 5 mins, take the pan off the heat and cool. Every now and then spoon some of the warm liquid over the tops of the batons to ensure they are all evenly cooked. Do not try to turn them over as they will fray!

– Add the cream to the creme pat to loosen it and make it spreadable. Add a bit more if you need to.

IMG_4227

– Spread the creme pat over the base of the pastry case and carefully line up the batons on top all the way down the tin. Be very cautious when you lift the batons out as their delicate fibres can spoil – use a pallette knife.

– Reduce the poaching liquid down to make a syrup and glaze the fruit (and pastry if it’s a nice thick syrup) before serving.

IMG_4231

Isn’t the pink stunning?I like the fact that the golden custard peaks through at the edges, and is especially cheering at this time of year.

True to form, I made an alternative desert – apple meringue – using the left over egg whites, which was actually more popular with my lunch companions! This was no problem for the rhubarb lovers however, as second helpings were unsurprisingly easy to accommodate…

Onion & Sherry

I am a little obsessed with the favours that alcohol can add to a dish. Being introduced by Jamie Oliver to white wine and vodka in risotto has started a lifelong fascination with the culinary art of ‘bunging in the booze’.  I rarely make a Bolognese without chucking in left over red wine (I know – an oxymoron if ever there was one…) and a bottle of Marsala rarely lasts more than a month by my hob. There are always a couple of cans of ale or stout waiting to be poured into a casserole. The only drink I actually rarely buy or cook with is cider – even though I always love it when I do drink it. Why does that happen? It might be something to do childhood associations with difficult Sunday lunches; my mother for some reason thought cider was nothing more than a fizzy apple juice, and served it to us from a fairly young age.  It may go some way to explaining the arguments over dessert and apathetic afternoons slumped in front of the box.

One aperitif, which has enjoyed resurgence in popularity amongst the cognoscenti, is Sherry, so obviously my thoughts have turned to what it can add to my cooking. As I’ve said, I use Marsala with reckless abandon, and being Sicily’s answer to sherry (will I be in trouble with purists here?) I’m guessing it could be replaced with a Spanish Fino.  However, I’m slightly ashamed to admit that the only way I am familiar with it is as an official ingredient is in Trifle and French Onion Soup, adding a dark nutty pungency to its rich caramelized flavour. A quick Google reveals an incredibly wide variety of dishes – including fabulous desserts with rhubarb and peaches. One I will try imminently however, is James Martin’s sherry roasted parsnips.

Fo this week’s recipe however, I am returning to onions. As well as exploring innovative or lesser-known flavour pairings, I also want to investigate new ways of combining old favourites. My husband is a huge onion fan, and I never turn down savoury pastry so I decided to see how well onions and sherry could work by combining our two passions to create an Onion  & Sherry Tart. I made it as I would a Tart Tatin, and it was lovely with a simple rocket salad.

INGREDIENTS – serves 4

– 230g ready-rolled all butter pastry

– 50g unsalted butter

– 4-6 small onions, halved

– 100ml sweet oloroso sherry

– handful of fresh thyme

METHOD

–  Melt the butter in a heavy-based ovenproof frying pan. I used a Le Creuset omelette pan – which is 20cm across the base, 25cm across the top and 5cm deep.

–        Add the onion halves, cut-side up, and fry gently for 20 minutes until soft and starting to caramelise, turning them over gently halfway through.

image

–         Heat oven to 200 degrees c.

–        Add the sherry and thyme sprigs, season well, then cover with damp greaseproof paper tucked in.

image

–        Transfer to the oven for 20 minutes until the onions are soft.

–        Roll out the pastry to size and drape it over the pan, tucking in the edges around the softened onions.

–        Bake for 20-25 minutes until golden and crisp.

image

–       Remove from the oven and cool in the pan for a few minutes before turning out carefully.

image

–         Sprinkle with grated Gruyere or Parmesan if desired.

The sherry really created a delicious syrupy sauce – which was even more yummy cold. For ease of eating I think next time I may slice up the onions (although admittedly, it wouldn’t look so pretty).

What boozy recipes are your favourites?

Coffee & White Chocolate

When I was sixteen, and studying for my Home Economics O’ Level, (how twee does that sound?) one of the recipes we tackled was a chocolate and coffee tart. I can still remember learning how to crimp the edges ‘Paul Hollywood’ style and scoffing the lot with my friends after the class.  What I told my mother when I arrived home empty handed I do not know. However, it was the first time I had tasted the combination, and although it was probably instant coffee and Bournville, (which btw, Mary Berry swears by, so maybe I shouldn’t be so sniffy!) and I was hooked. I had only really eaten coffee as a flavouring in a coffee and walnut cake, habitually made every year for my father’s birthday – (strangely served with Maltesers on the side), but coffee creams rapidly became my preferred chocolate choice, taking over from the less classy strawberry, and reflecting my increasingly sophisticated tastes!

A couple of days ago I was intent on making some Brownies using Nespresso coffee when I discovered my chocolate stash empty.  Practically every time I shop I throw a couple of bars in my trolley so that I never run out, so I was upset with myself (or should that be my thieving husband…) for letting supplies run dry. What I did find however, stuck under a bar of unwanted Bailey’s truffle (anyone?) was a slab of white chocolate. I confess I don’t often cook with white chocolate. Not only do I find it a bit sickly, but it’s also really hard to work with  – melting to a thicker and more intransigent consistency than dark chocolate. However, beggars can’t be choosers, and I figured I wouldn’t be melting it in isolation, so I had a search for coffee and white chocolate brownies and found a fabulous recipe on Vintage Kitchen Notes via A Culinary Journey – thank you Paula!  Even better, the white chocolate was not melted but chopped into chunks, caramelising slightly in the baking, which gave these brownies (or strictly Blondies) a gorgeous fudgy texture. They were such a roaring success, that know the recipe will become a regular of mine, so allow me to share it (slightly adapted to what I had to hand) with you now:

INGREDIENTS: Serves 8

100ml Espresso Coffee

180g granulated sugar (gives that thin crispy sheen on top)

180g dark molasses sugar

180g unsalted butter

2 lg eggs, beaten

30ml coffee liqueur (I didn’t have any so I guess it’s optional)

240g plain flour

2 tsp baking powder

½ tsp salt

140g good quality white chocolate, chopped into various size chunks

100g coarsely chopped pecans (or walnuts), toasted.

METHOD

–        Preheat the oven to 180 degrees centigrade (350 F)

–        Butter a 10-inch cake pan and line the bottom with parchment paper.

–        Prepare the Espresso coffee and combine coffee and water in a small saucepan and stir until dissolved.

IMG_4094

–        Over a low heat, add sugar and butter and stir until butter melts. Turn off heat and let     mixture cool to room temperature, stirring occasionally. You can transfer it to a bowl to speed it up. It’s important to let it cool so that the chocolate doesn’t melt when you add it.

–        Add eggs and coffee liqueur to butter mixture and whisk to combine.

–        Sift flour, baking powder and salt directly onto butter mixture and stir to blend.

–        Stir in chocolate and nuts.

IMG_4096

–        Bake until a tester comes out almost clean, about 35 minutes. Do not over bake or they will be tough. Do not use a square pan like me – it really needs to be a 10 inch tray bake, or your brownies will be a bit dry at the side and undercooked in the middle as the mixture will be too deep.

IMG_4104

–        Cool in pan on a wire rack (see the dry vs squidgy areas?)

IMG_4106

In spite of my pan error, they tasted amazing, and I scooped up the undercooked brownie and stirred it through some vanilla ice cream (300ml double cream, 150 ml full fat milk, 150g icing sugar and I tsp vanilla extract if you have an ice-cream maker).

IMG_4120

Can you believe I shot this ice-cream and then put it back into the freezer? It was only 9am however, and I was still intent on making today a ‘good’ day. . It’s now 4pm and I have failed; in the last hour alone I have consumed 1.5 slabs of the brownie and I can’t be sure how long the other half is going to survive…..

Any favourite coffee pairings you want to share?

Ginger & Salmon

Ginger is my most favourite of the spices – even more so than nutmeg. I love it in stir-fries, biscuits, gingerbread, drinks….the list is endless – as are the flavour pairings. I rarely now make a Key Lime Pie or Lemon Cheesecake without adding ginger to the buttery biscuit base, or a sprig of mint to Schweppes Ginger Ale in the summer (with a squeeze of lime!). I have also added orange zest to ginger biscuits and cake in order to impart an immediate exoticism to the flavour. I am not a fan of every combination however; I do not for example, particularly like chocolate with ginger (I realise I am pretty much alone on this) and I also agree with Niki Segnit’s opinion on ginger with rhubarb. I find the spice overpowers its aromatic berry notes and can think of many other pairings infinitely more suitable to imparting sweetness and flavour (maple syrup and vanilla is especially rewarding).

I have kept ginger in all its forms – fresh, in a jar, tube, powdered, but now my preferred and most convenient form is frozen – thank you Waitrose (although there is nothing stopping you from mincing fresh ginger and freezing it yourself). I also still keep powdered (Bart’s is definitely worth paying more for) and candied ginger for baking (always left over after Christmas, very handily).

IMG_4030

One of ginger’s closest friends, in my opinion, is fish, and specifically, oily fish. My aunt first introduced me to this. She makes a sublime side of salmon, infused with ginger and enrobed in delicate buttery shortcrust pastry shaped and decorated to resemble the fish itself.  It sits proudly on the table, as if the centrepiece of a Regency feast, and is sublime with salad and jersey potatoes.

In homage to that dish (which I confess I am yet to have a crack at myself), and because I had four salmon steaks in need of eating, I decided to make a salmon en croute, which I often do, but this time flavoured with ginger. I also had some lemons which had seen better days, so used the zest to add some subtle citrus notes.

Normally, I would simply wrap the salmon in pastry, and bake, and they are fine, but to add an extra challenge, and because I was interested in whether it would make much of a difference, I decided to bake the bases first.

Ingredients – Serves 4

4 slim salmon steaks

750g butter puff pastry (I confess I last made puff pastry for my O’ level in 1985)

100g cream cheese

I heaped tsp minced ginger

Zest of one lemon

Salt & pepper

Egg for glazing

Method

–       Mix the cream cheese, ginger and lemon together with a pinch of salt and black pepper

IMG_4031

–       Roll out the pastry into a rectangle until 2mm thick

–       This bit is quite tricky: Cut four rectangles, which your salmon steaks will fit in the centre of with a 2cm all round.

IMG_4033

–       Cut another four rectangles 1cm wider all round and put in fridge

–       Place a piece of baking parchment over the pastry and then a pan, or another heavy baking tray which will basically stop the pastry form rising (meille feuille are made this way)

–       Bake in the oven for 10 mins, but check that they are nicely crisp and browned before taking them out)

IMG_4035

–       Cool slightly

–       Strip the skin from the salmon by sliding a knife under the fish and away from you.

IMG_4036

Place a salmon steak in the centre of each strip of pastry and divide the cream cheese mix over the top of each one. Be careful not to put too much on – you don’t want it leaking out. You can always warm any spare cream cheese with a spot of cream and serve as a sauce on the side.

IMG_4039

–       Place the larger pieces of pastry over the top and crimp.

–       Glaze with egg and grind some salt and pepper over the top.

–       Put two tiny slits at each end to allow some of the steam to escape.

IMG_4043

–       Bake for 25 minutes

IMG_4056

I served this with some Charlotte potatoes (sadly Jerseys are a few months away) and garden peas. The bases were incidentally, extra crispy and definitely worth doing for a special dinner (but perhaps wasted on the kids!)